Replacing rear seals on a 1949 Ford 8N
Fair warning – this is not a bit-head post, but a gear-head post. I like to do what maintenance I can on my vehicles, which doesn’t amount to a whole lot. But it provides good challenges for me and keeps some costs down.
My tractor is a 1949 Ford 8N (I originally posted that it was a 1951, but later discovered it is a ’49). It is relatively easy to work on, since Henry Ford liked to keep things to their essentials. I’ve changed the oil, replaced plugs, done other routine tasks. But replacing the rear axle seals was a bit different. Nothing too hard, but a lot of learning and certainly a lot of sweat and labor.
Before starting, I read John Smith’s popular guide. That helped a lot, but nothing can prepare you like getting in there and doing it.
First, on both sides I removed the wire retainer ring and loosened the large axle nut, then drove the tractor around the yard a bit to help loosen the hub. Then I parked the tractor and lifted it with a floor jack. Because the axles are necessarily high, I placed two rows of scrap 4×4 under my jack stands to get them high enough to brace the axles. Then I removed the right wheel by loosening the 8 bolts. A breaker bar comes in really handy here, especially if yours have been on for a long time.
At this point the right wheel was volunteering to come off without assistance. But that seemed like it might be a harmful thing, so as I got to the last couple of nuts, I leaned my body into the wheel to keep it in check. Having read on the forums that, if it gets away from you, let it do its thing and get yourself out of the way, I eased away and let it work itself off with gravity. Once off, it did, of course, have a mind of its own, so I let it fall to the ground.
Next up was the brake drum. I wasn’t quite ready for the difficulty of this particular endeavor. The adjustment caliper was stuck pretty well, and it seemed like the gunk in there had a suction lock on the drum, holding it fast to the brake shoes. It’s been probably 30 years since I replaced drum brakes but I don’t remember it being this difficult.
Well, it was difficult.
I worked it a little ways loose, then commenced to hammering on the flange of the drum. It helped, but only scarcely. After working on it a while, taking a break, coming back to it, and trying a few different tools to help pry it, I was rather stuck.
Then I had the thought to spray some brake cleaner in there and whack it with my small sledgehammer. If that didn’t work, I was going to resort to the large sledgehammer.
The small one did it, and with every resounding “whack” it gave more and more, until it plopped off onto the ground.
Whew!
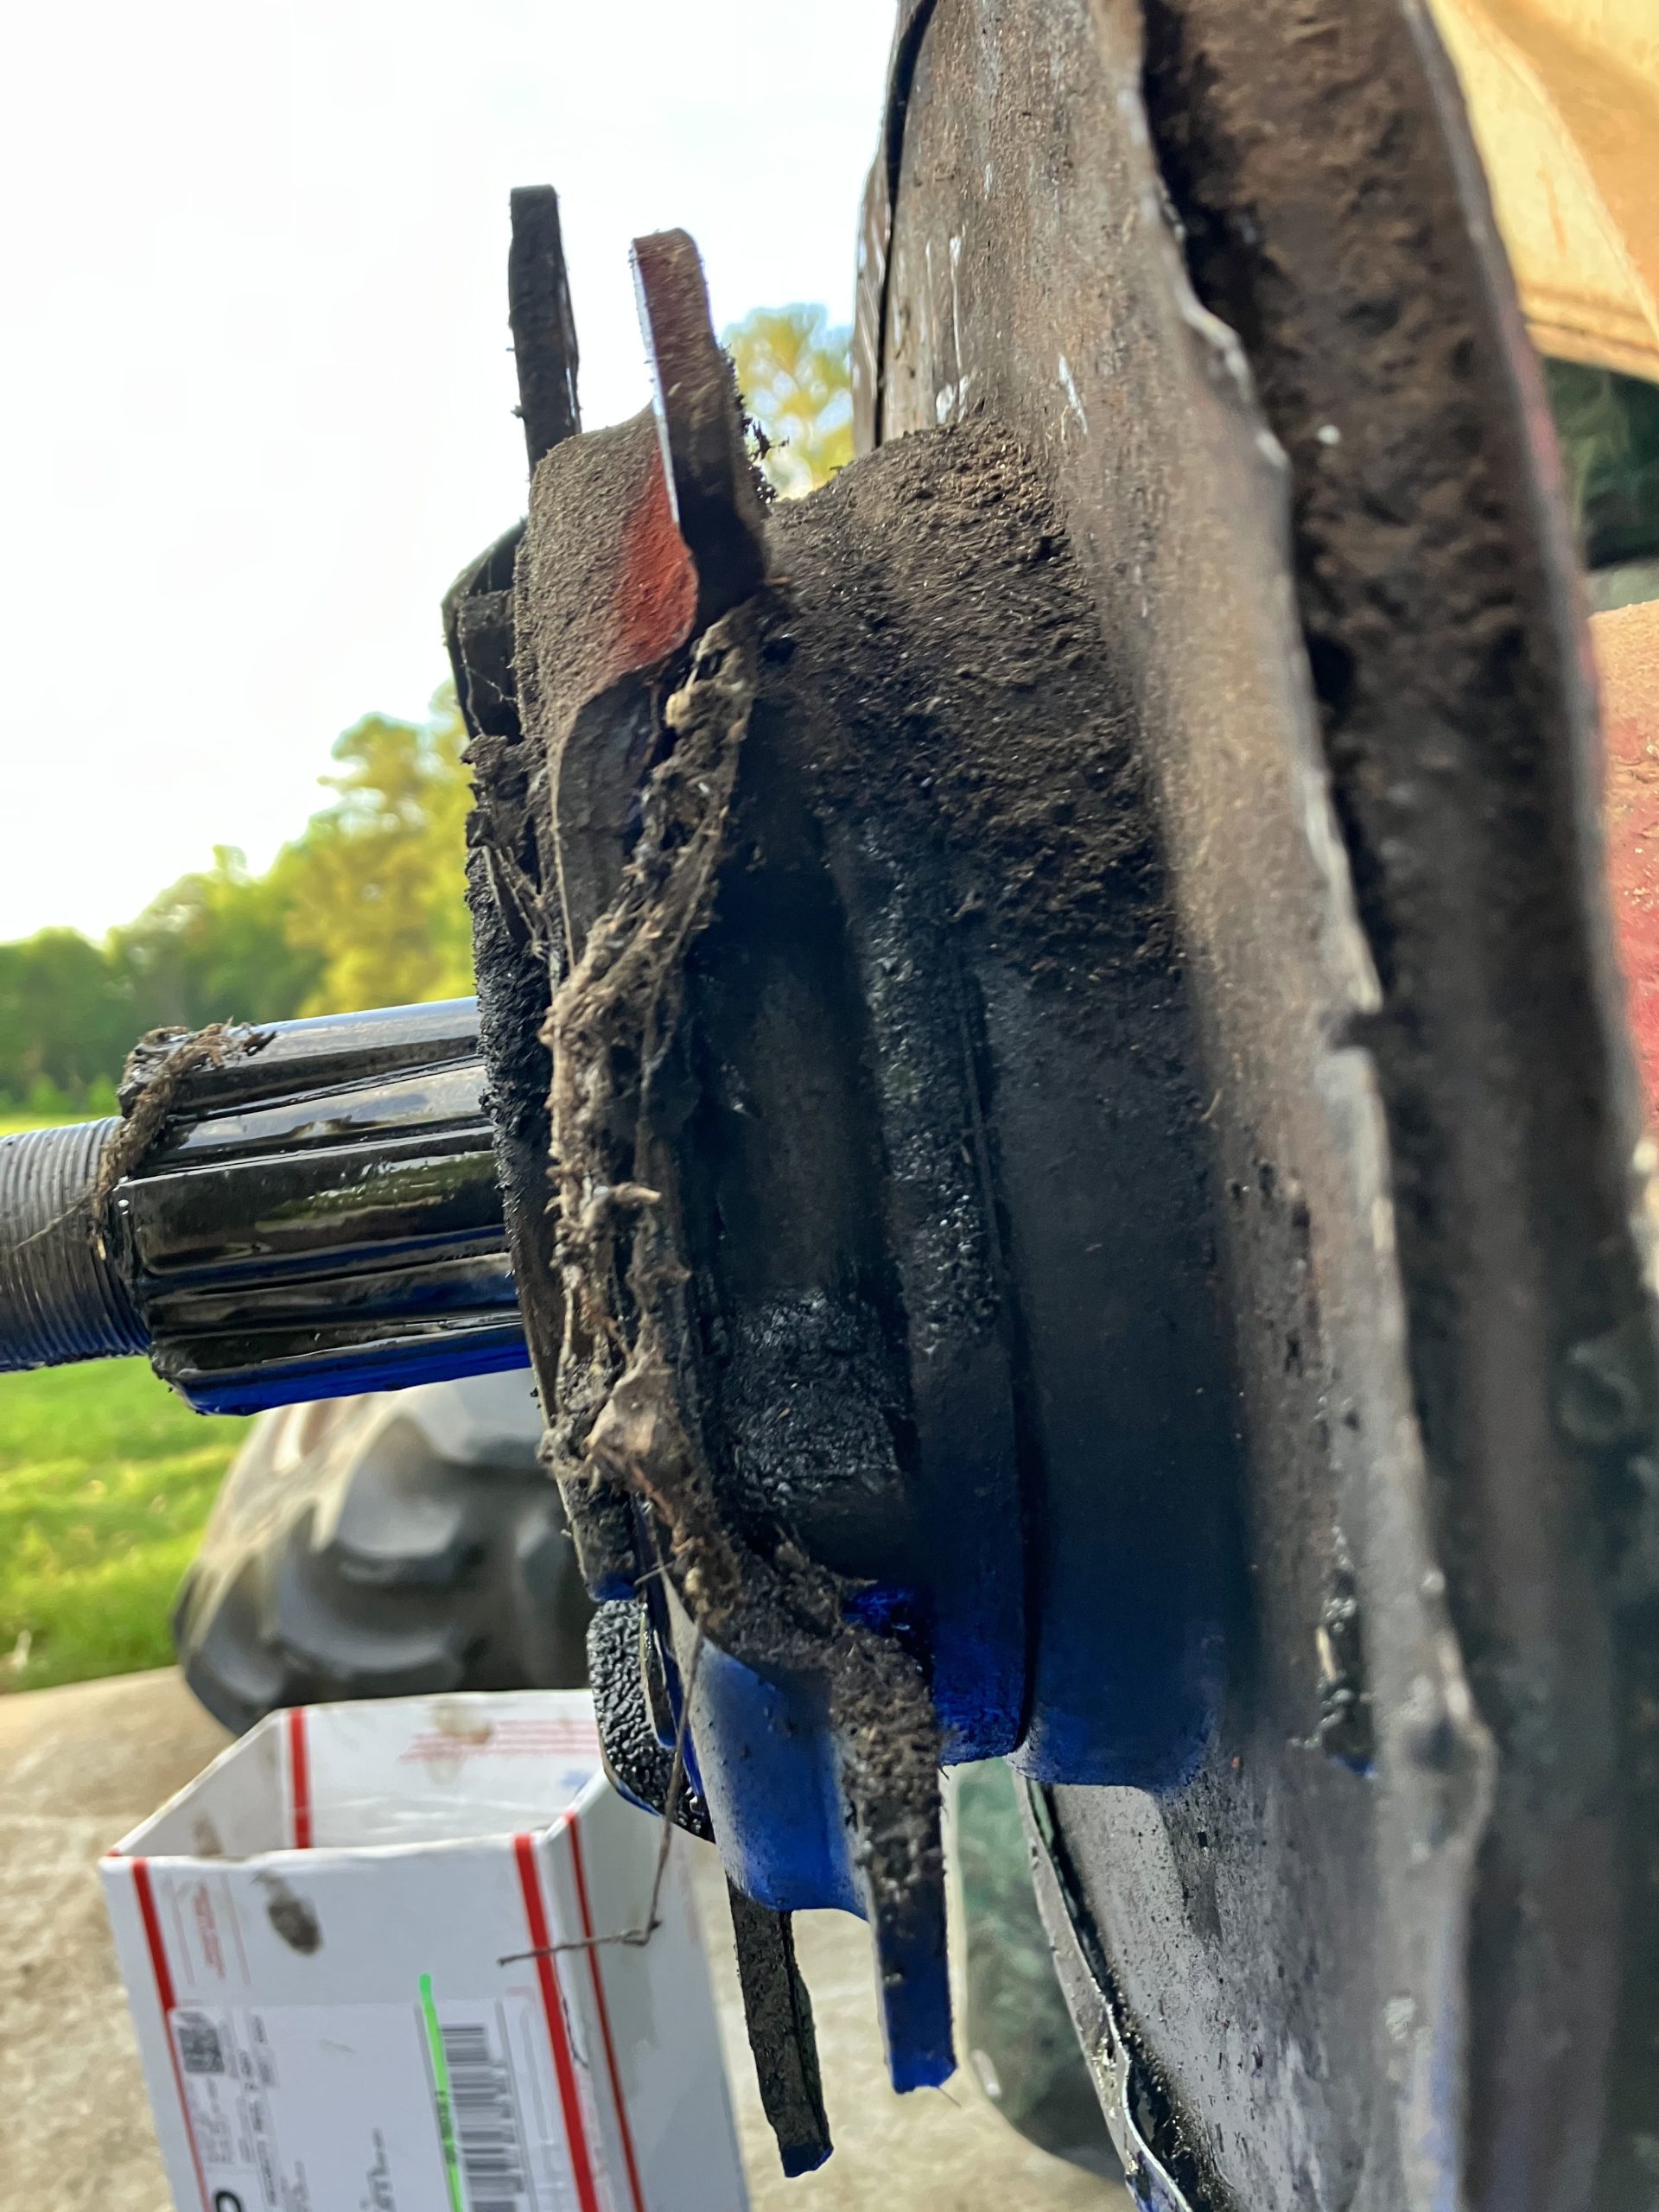
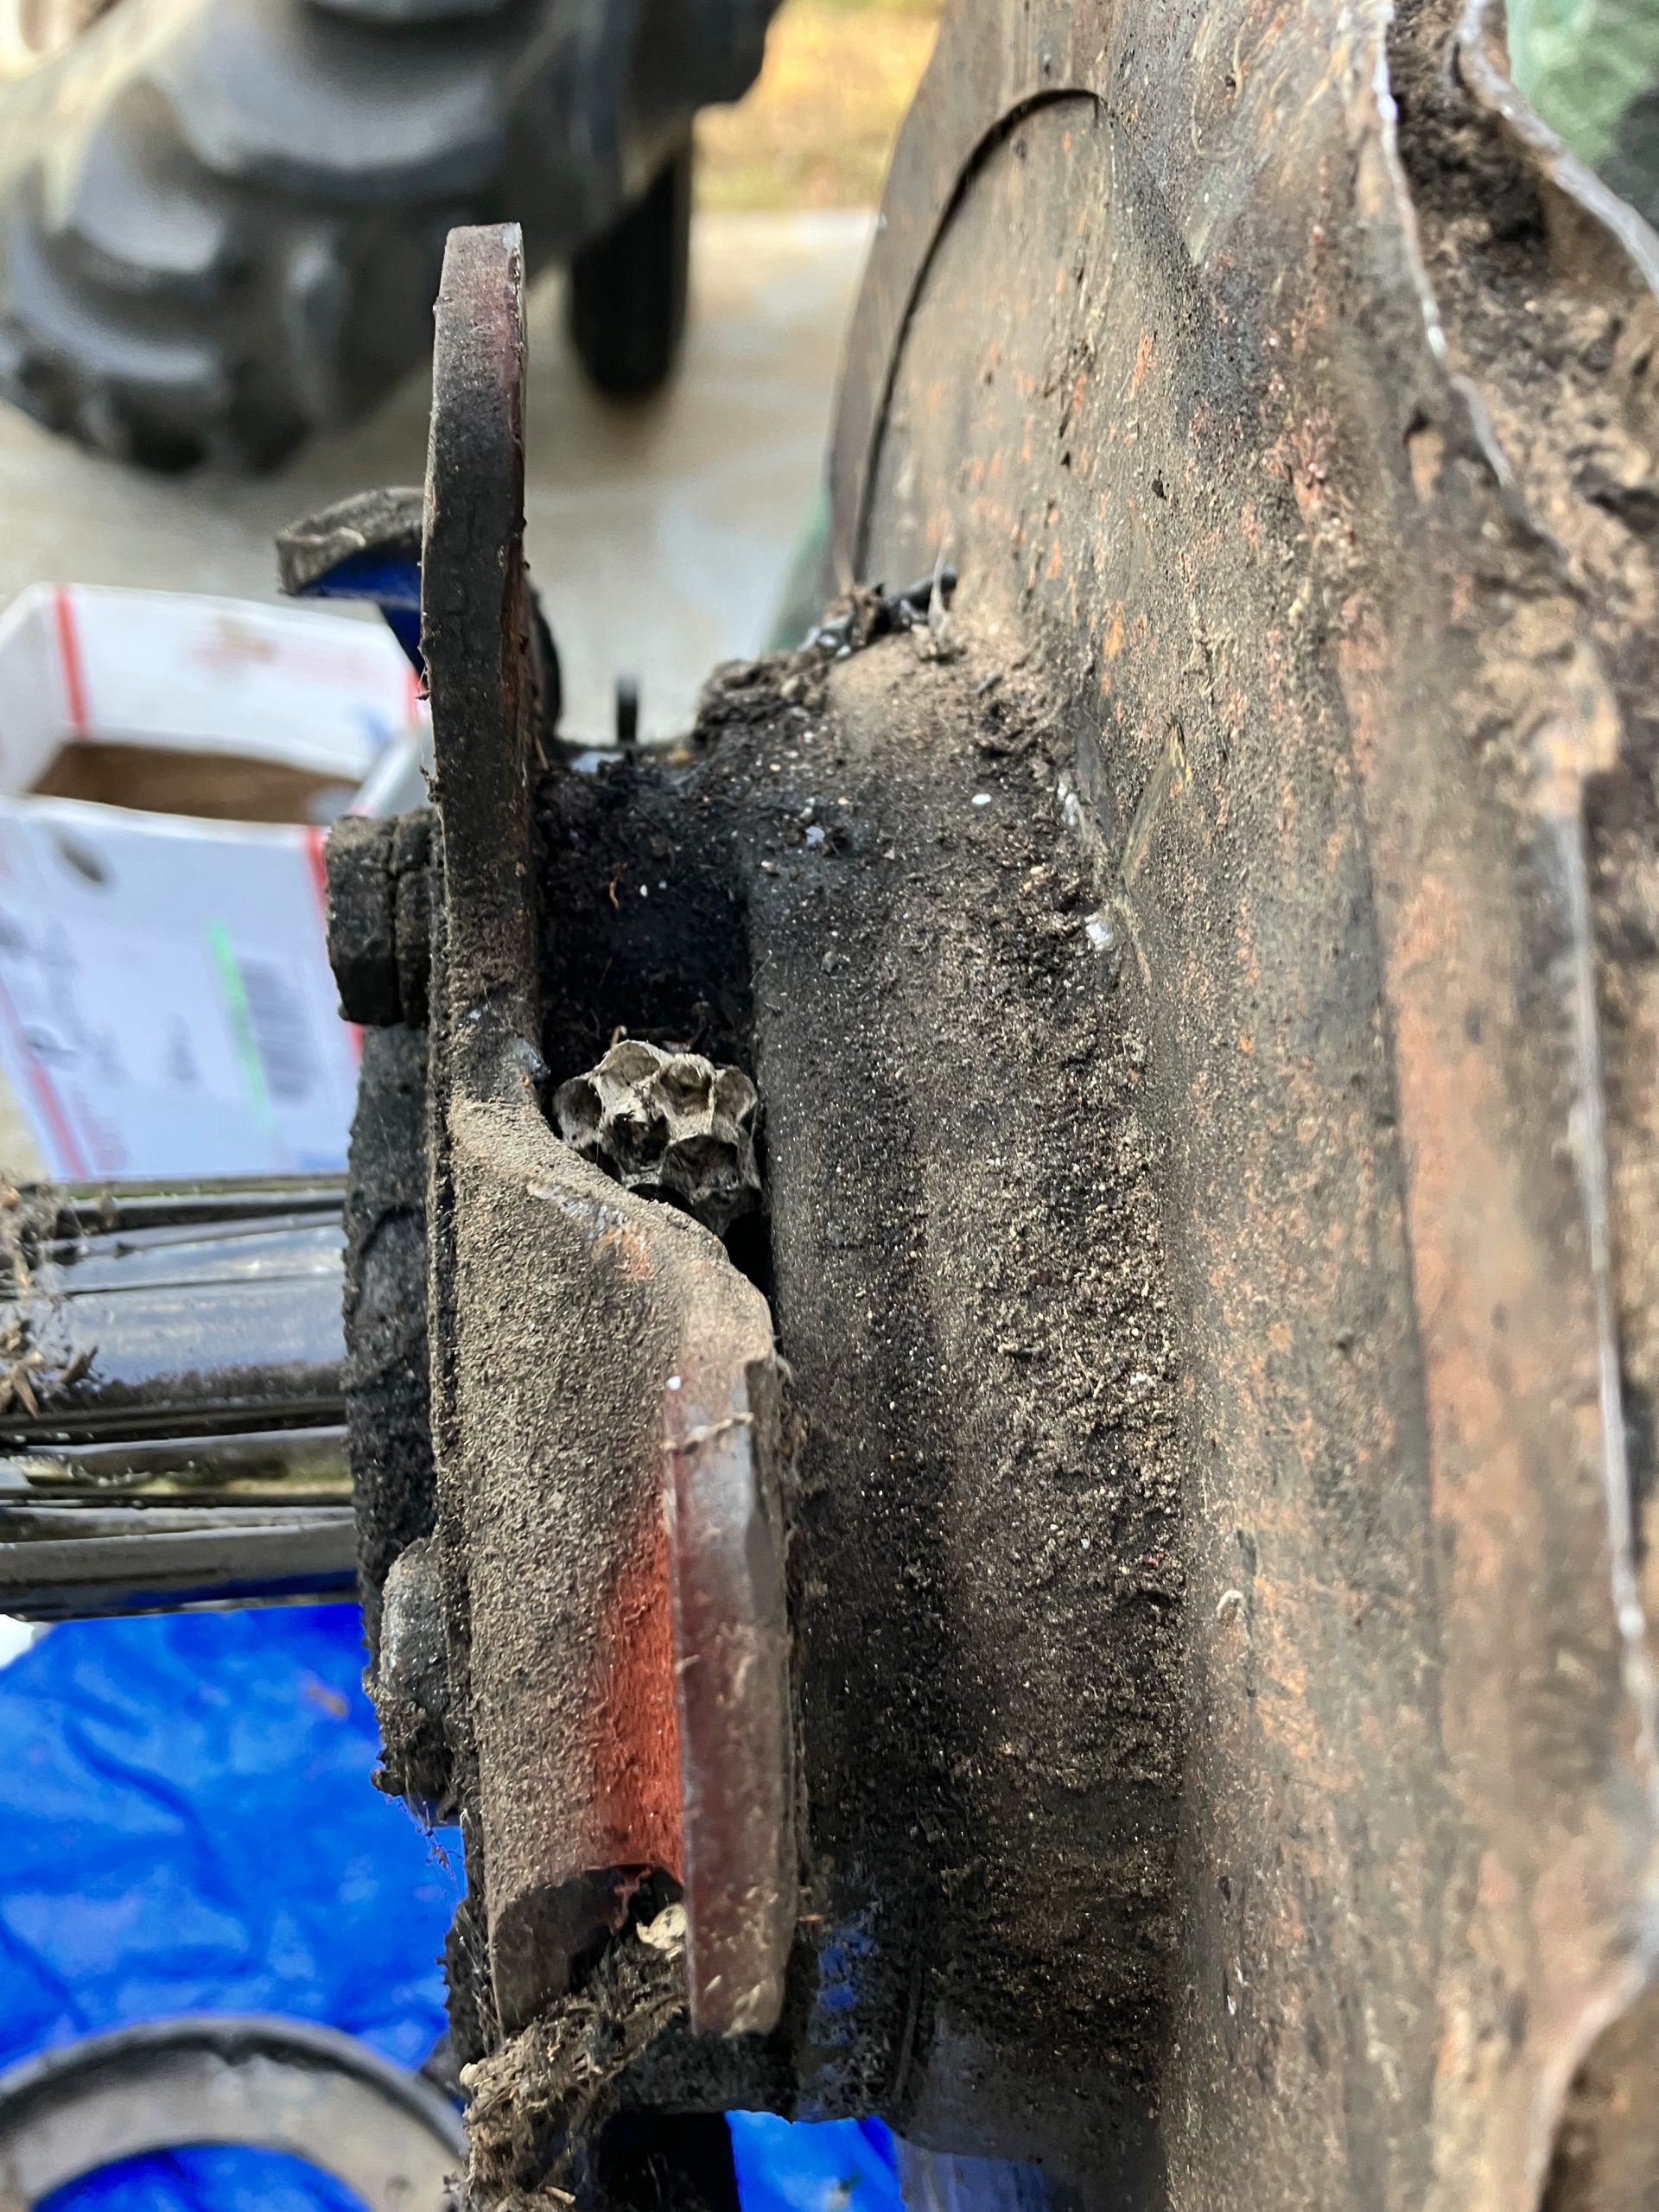
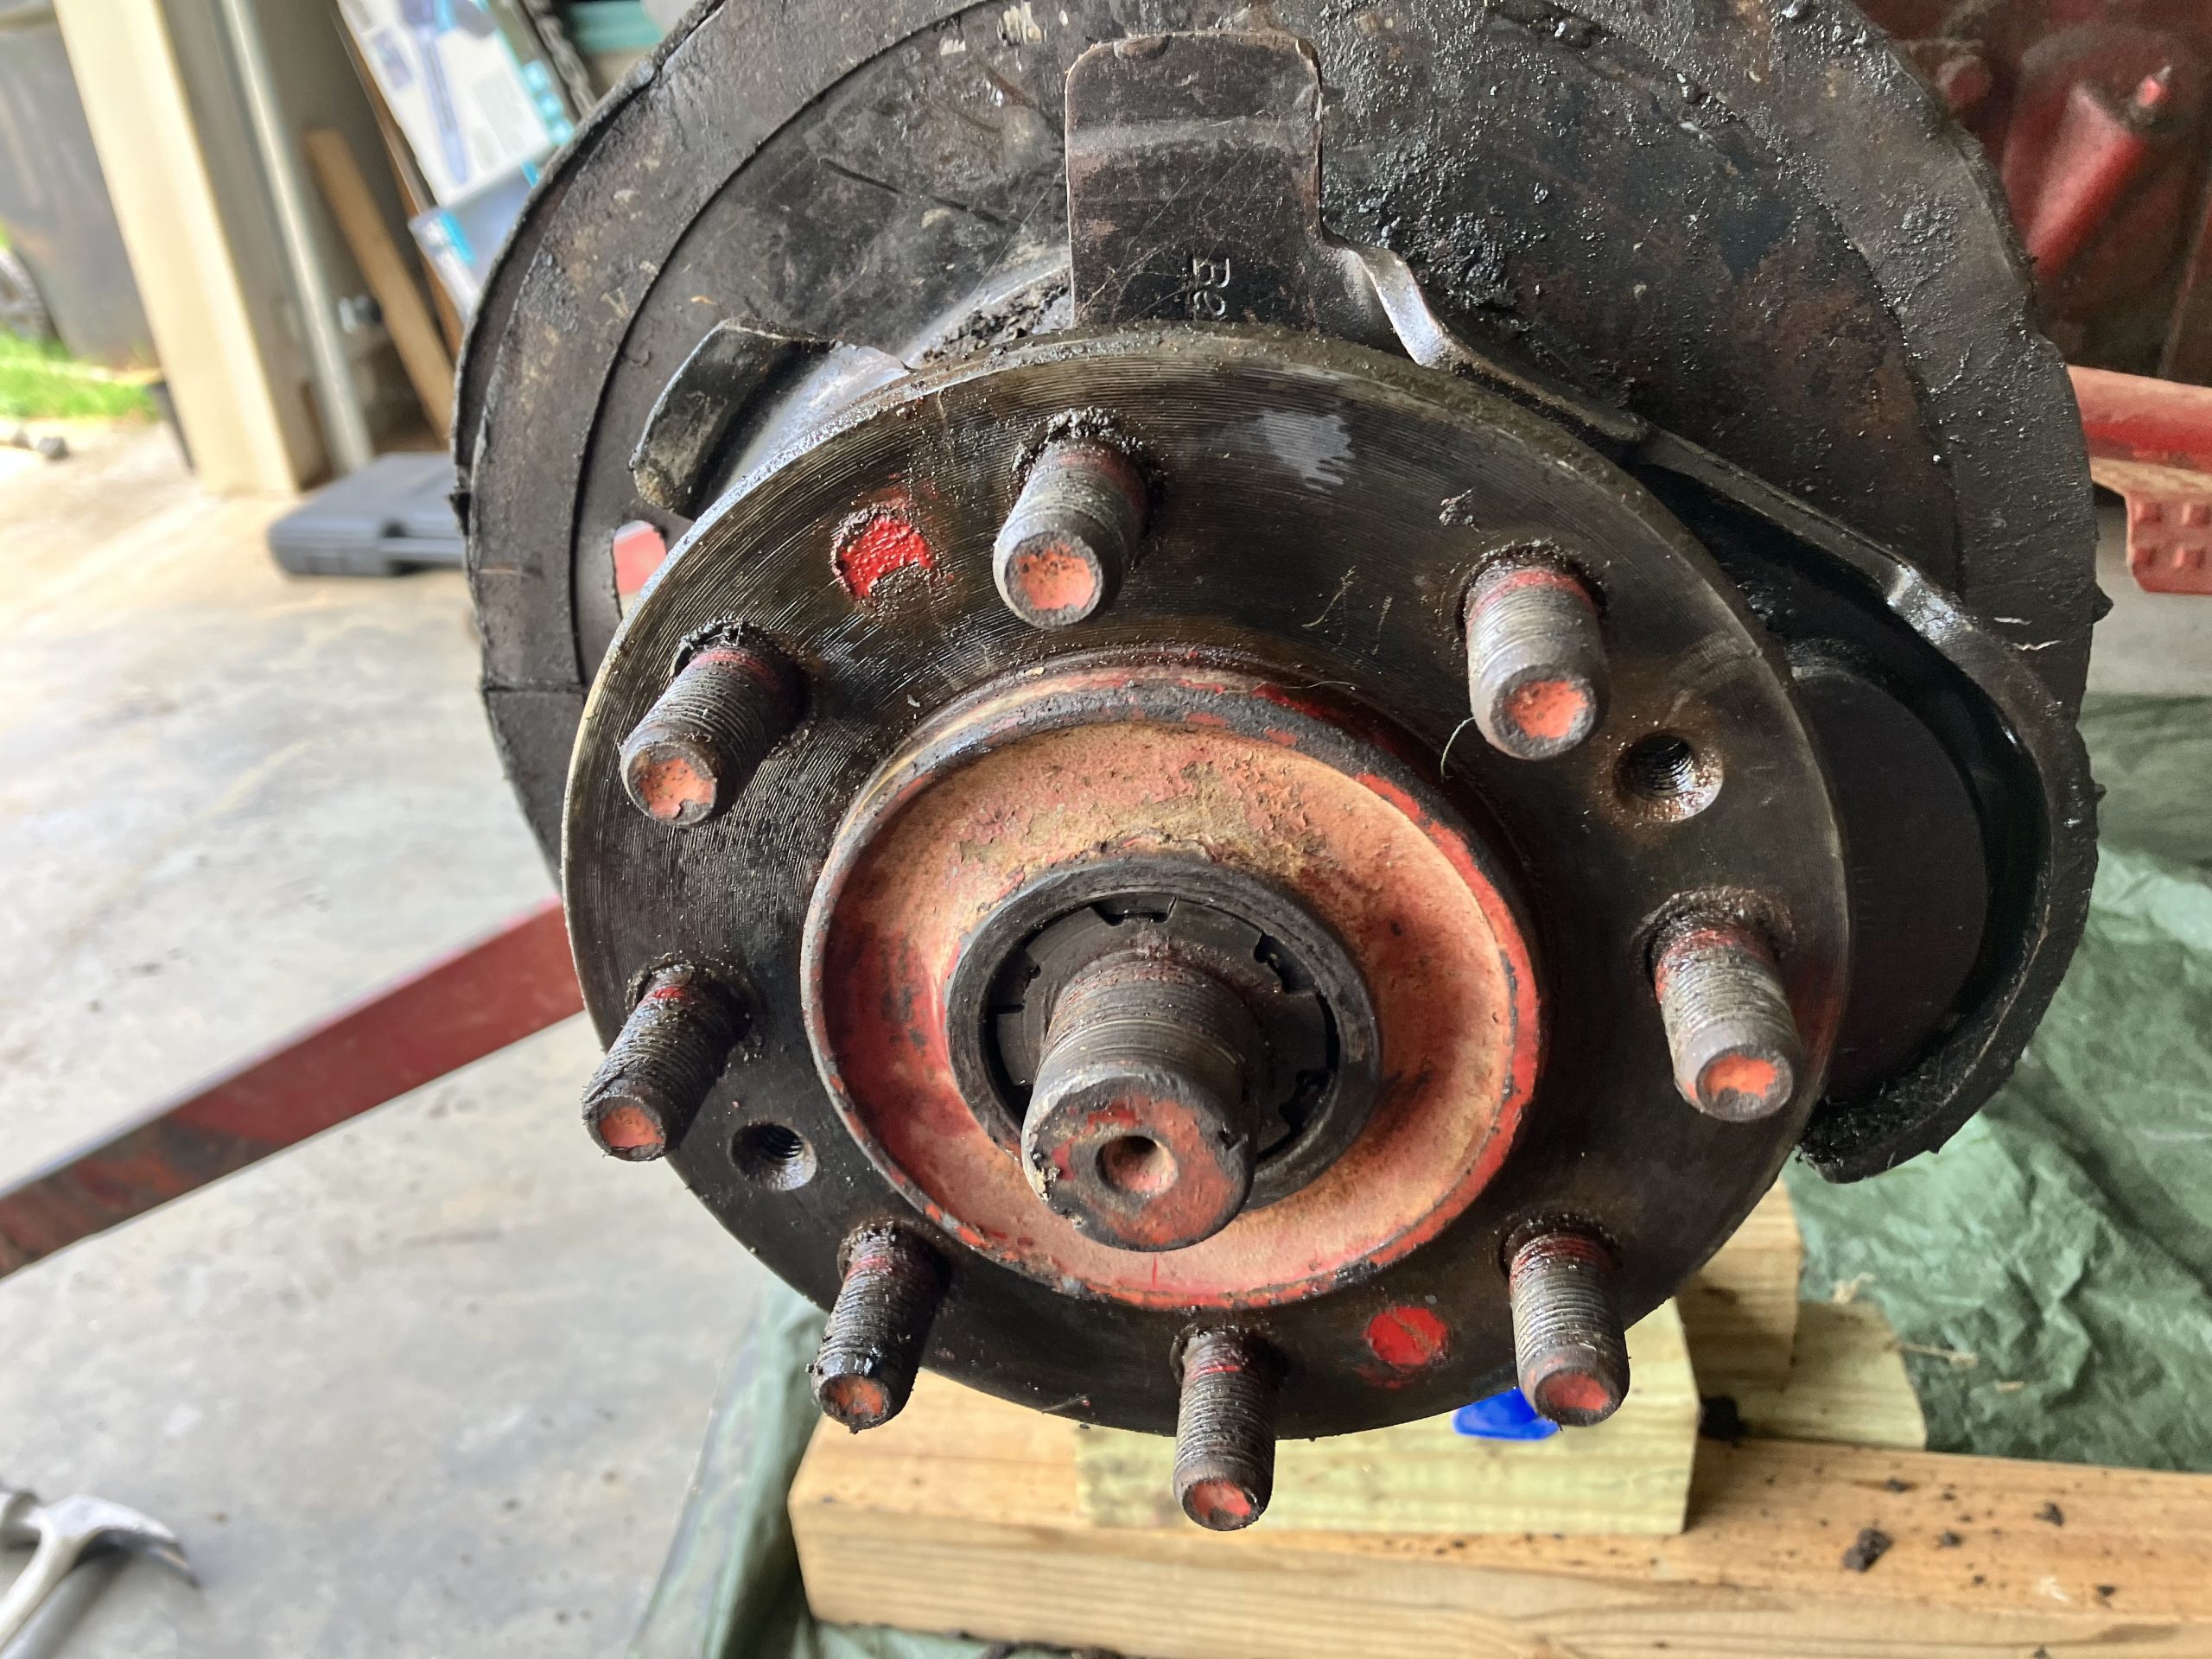
Here we are after the hub finally came off. You can see it was dirty. That’s an understatement. It was plumb cruddy. There were dirt clots, grime, and even a wasp’s nest, thankfully long-abandoned. It looked like this one had not had a seal job in quite some time, and may have sat idle for a while before I bought it.

after brake drum removal
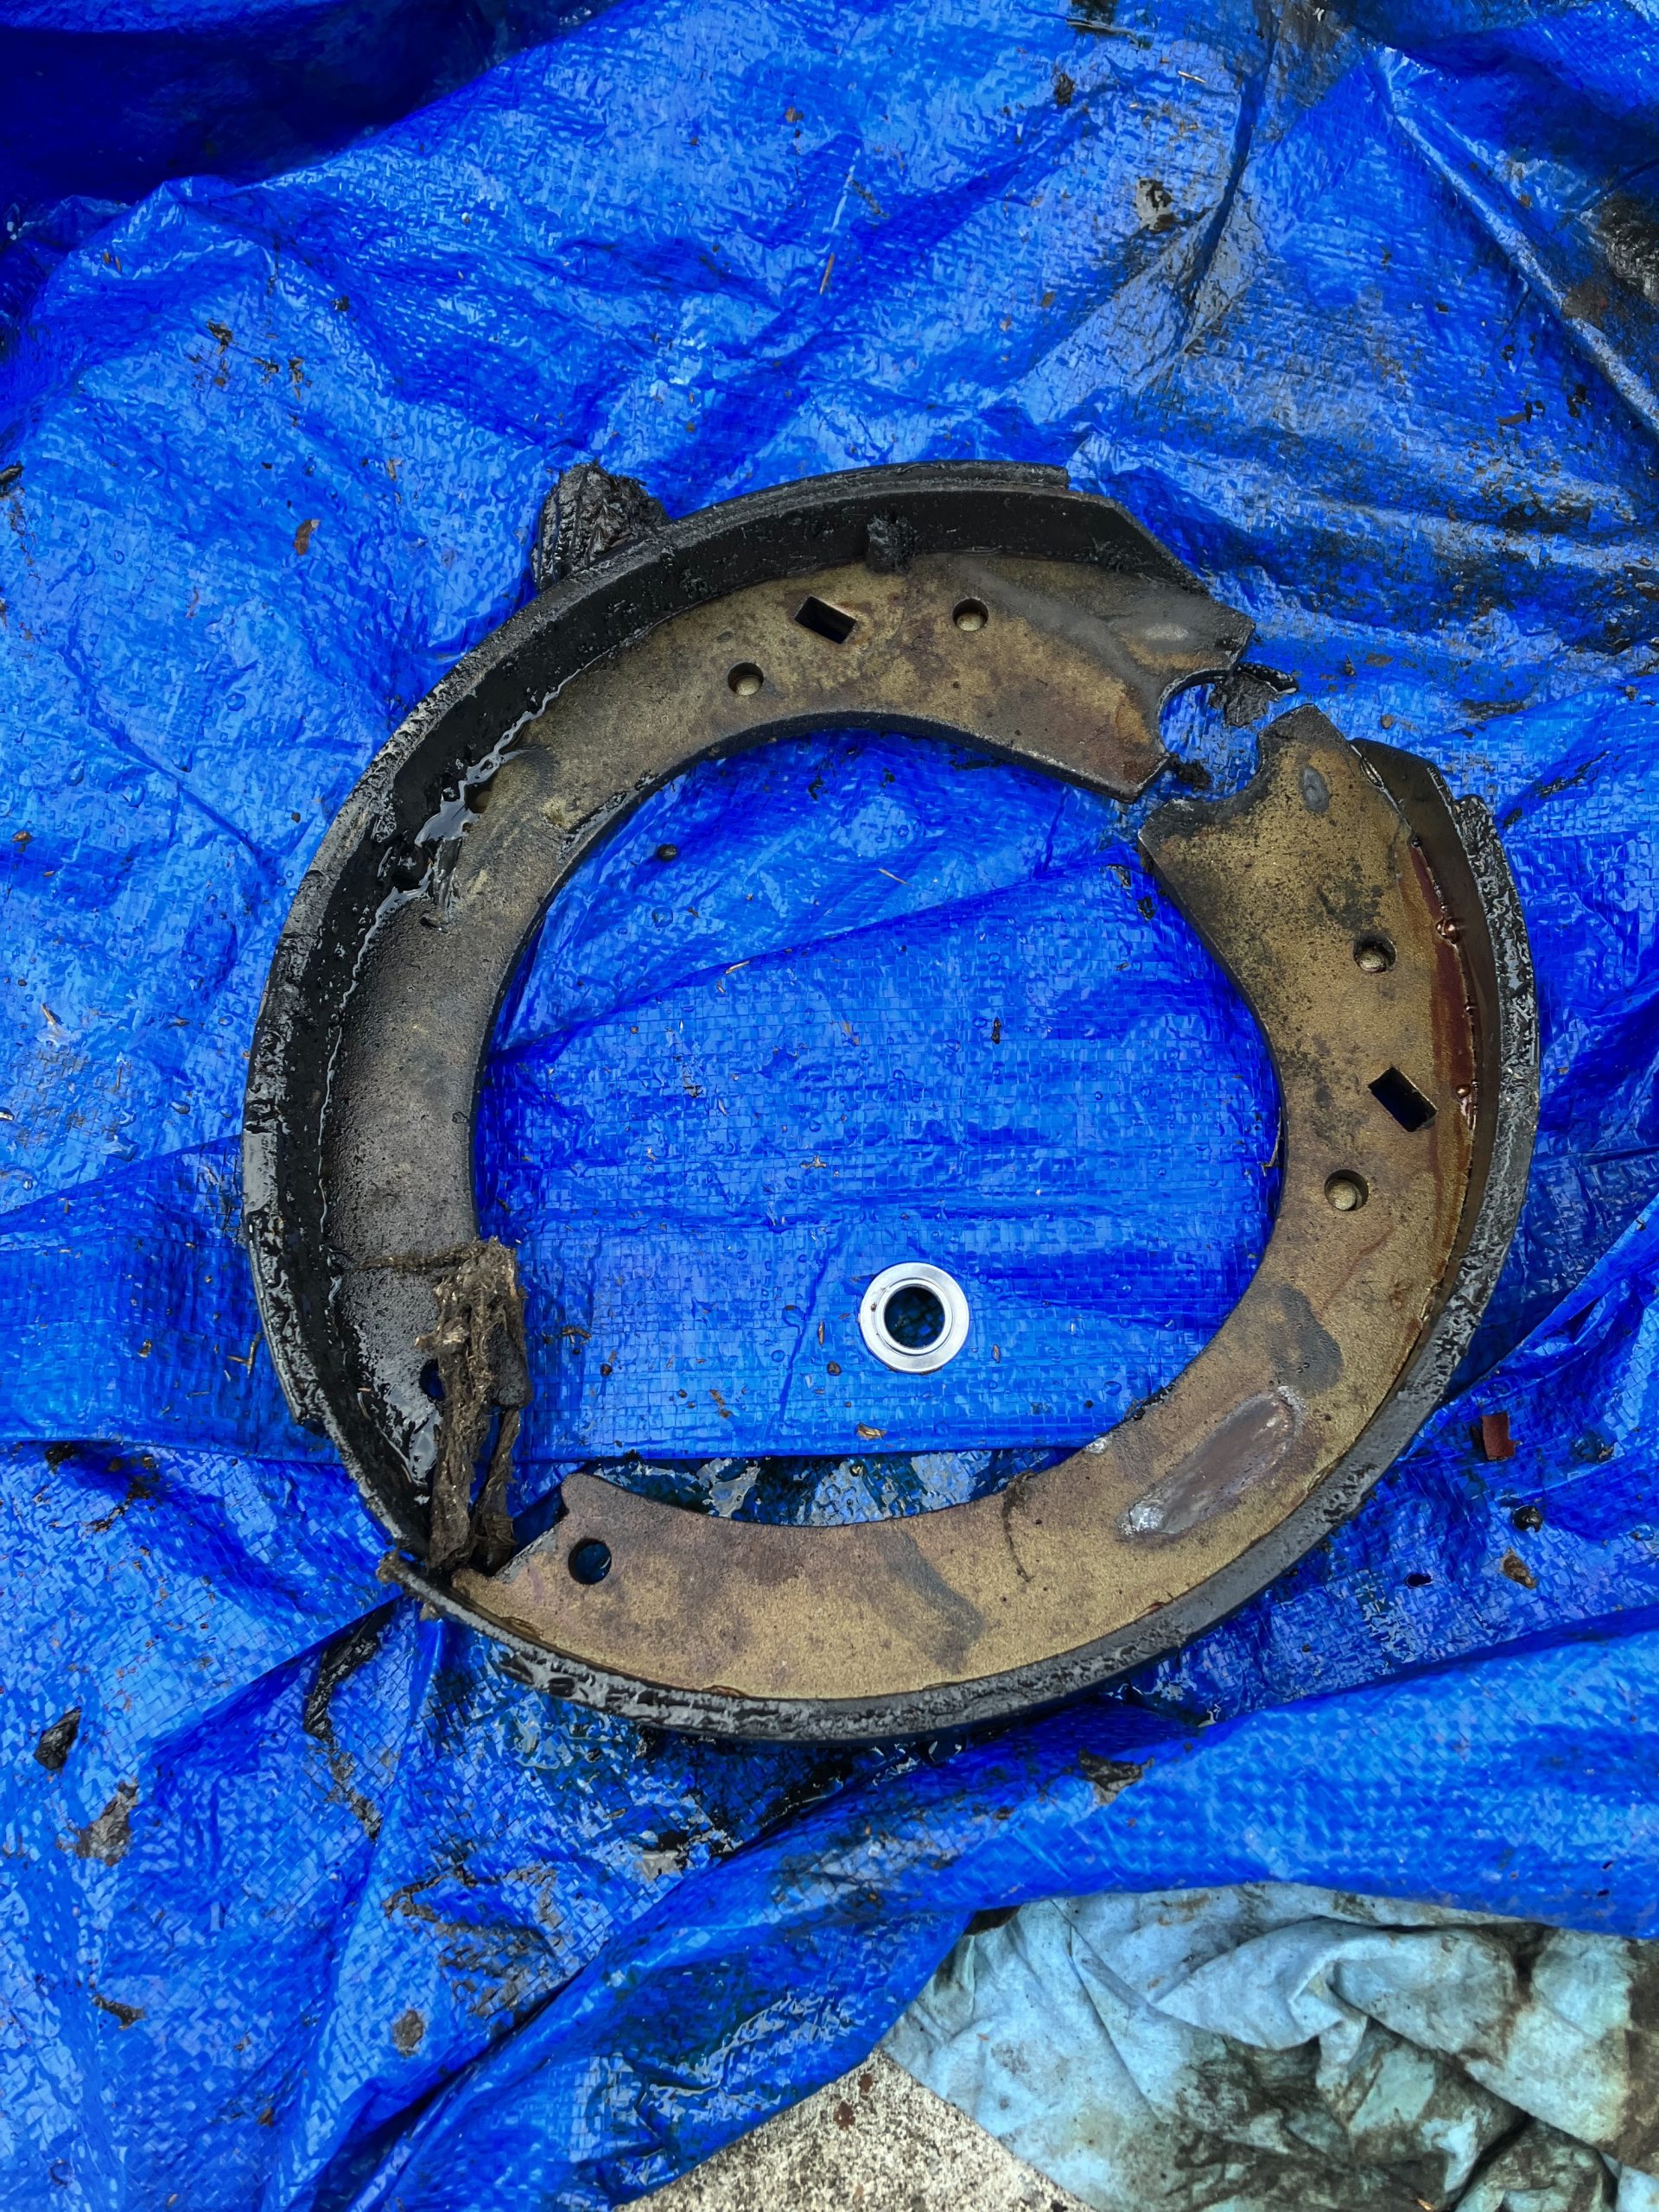
grime on the brake shoe
I removed the brake shoes next. Not particularly tough. I really just pulled the whole assembly off, springs in-place. Again, very grimy shoes. No wonder I had to stand on the brakes, literally, to get it to stop. Heh.
Here we are sans shoes.
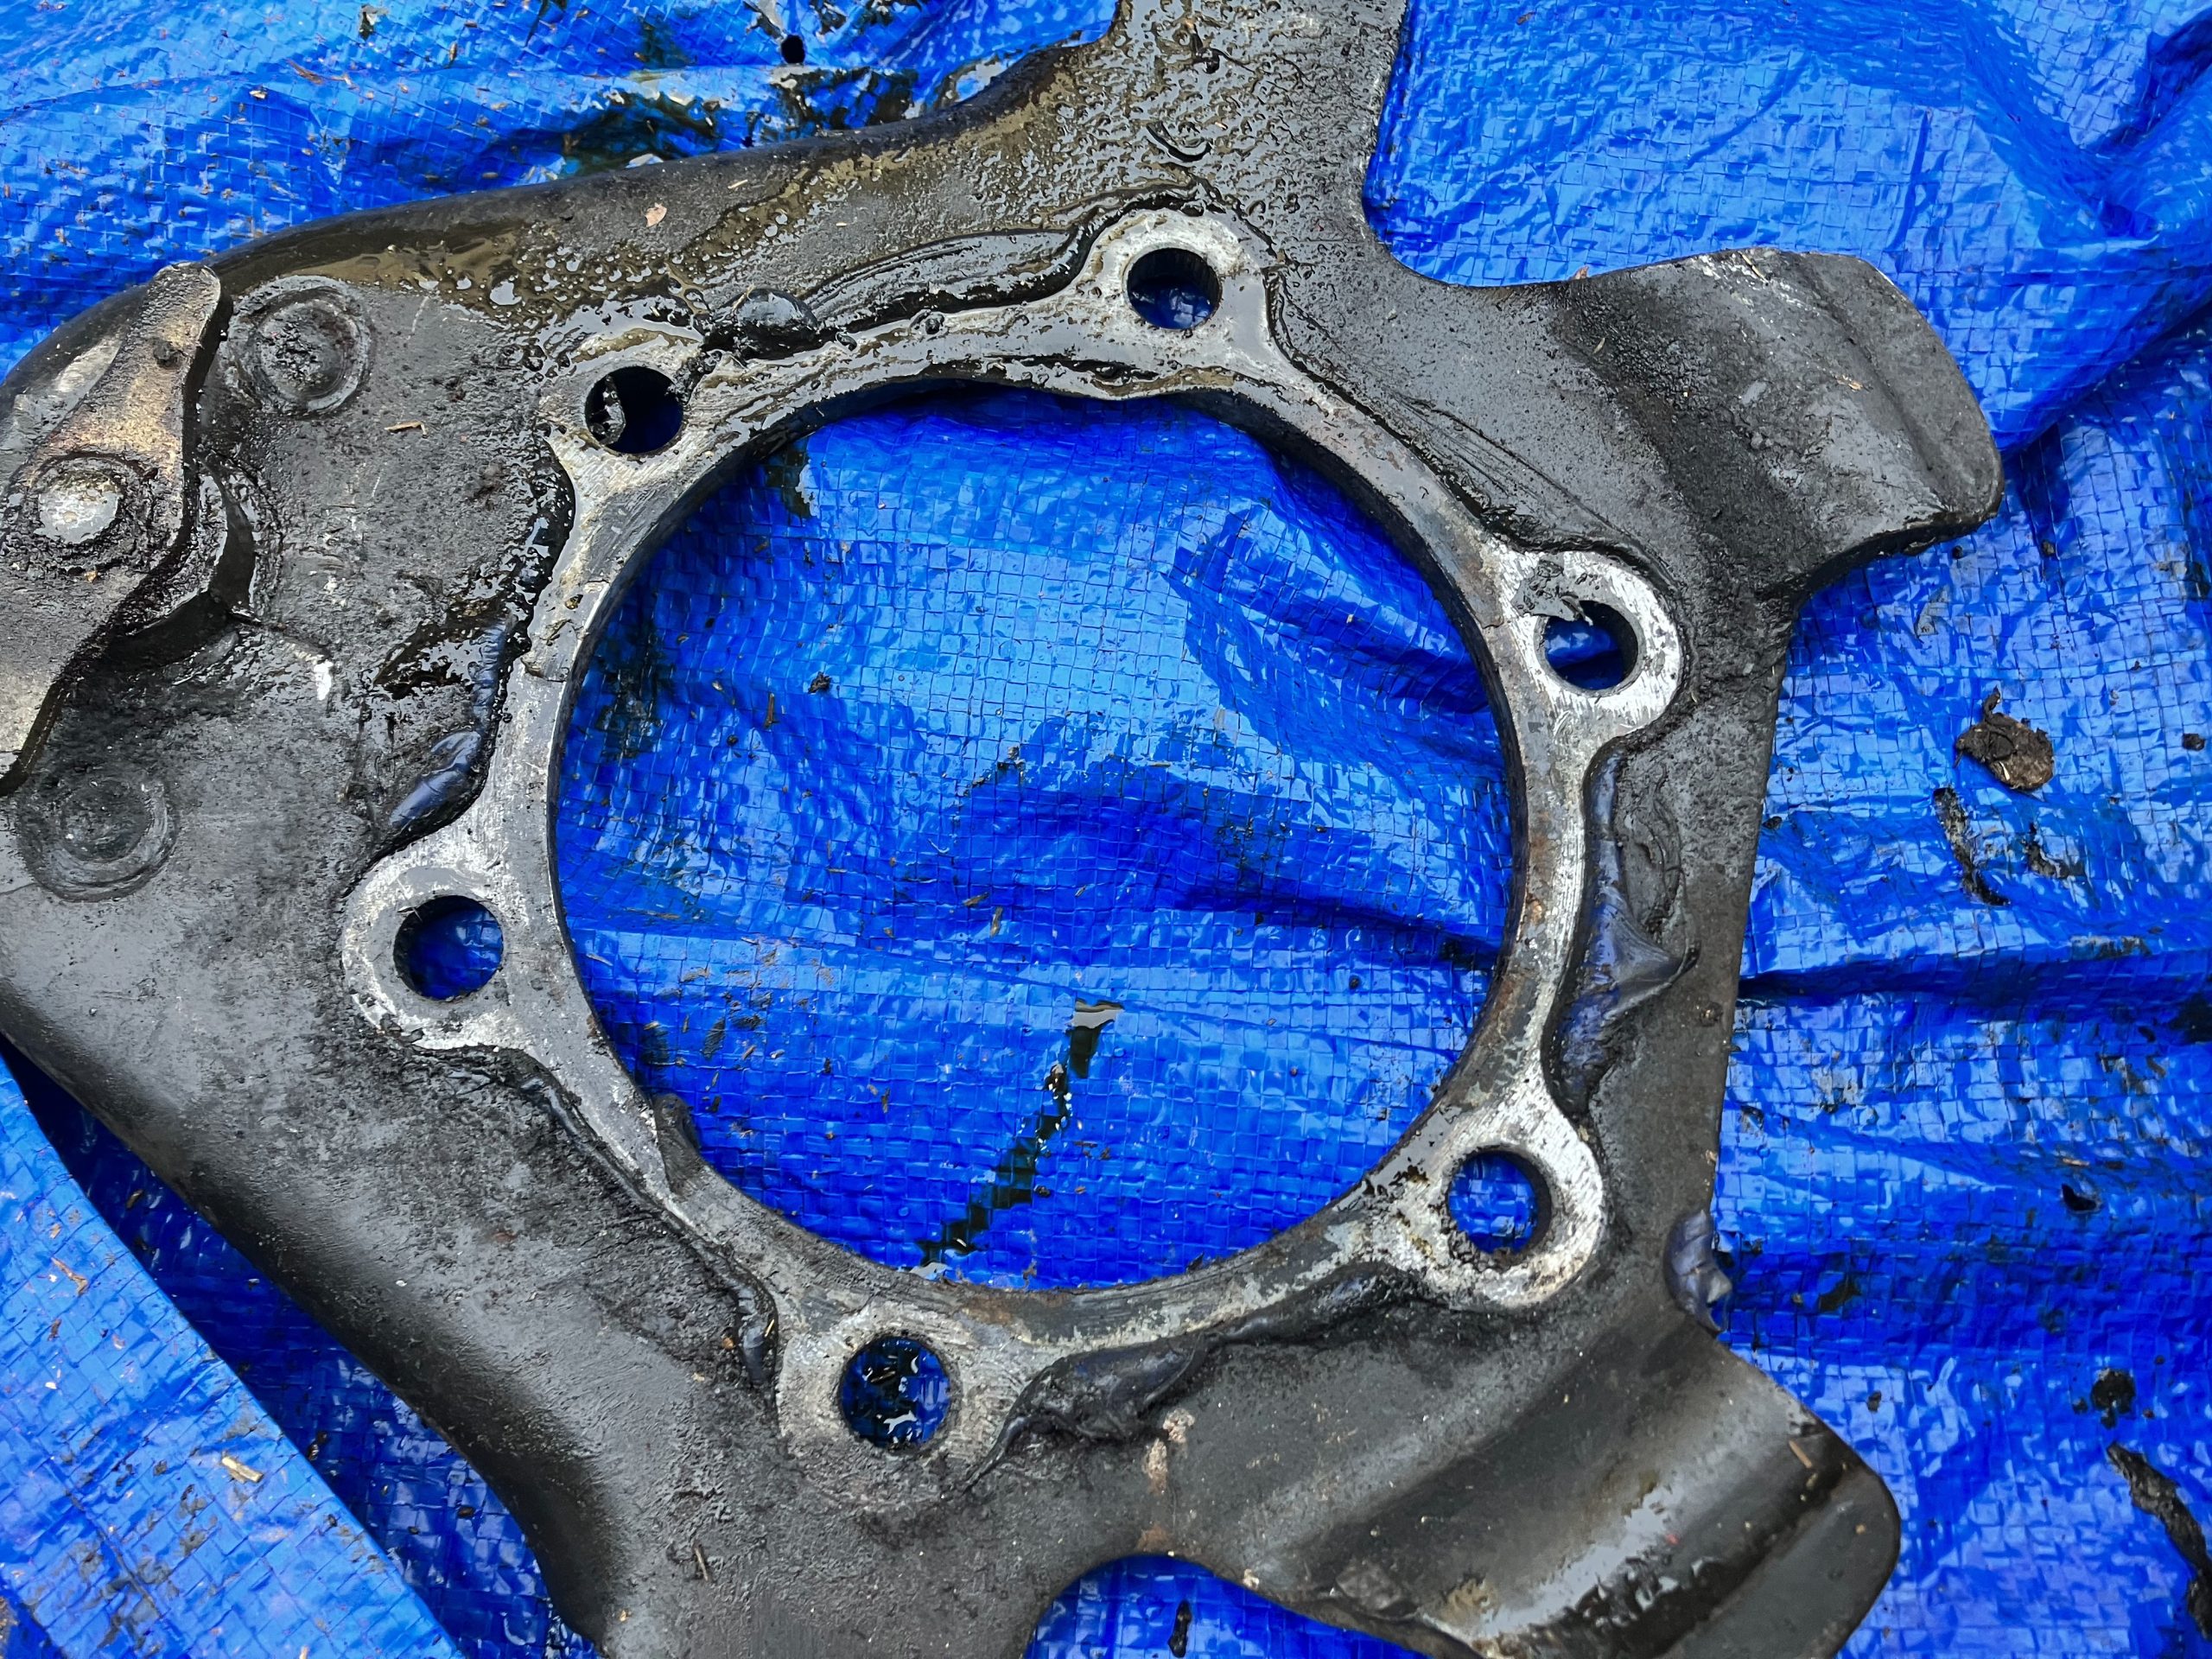
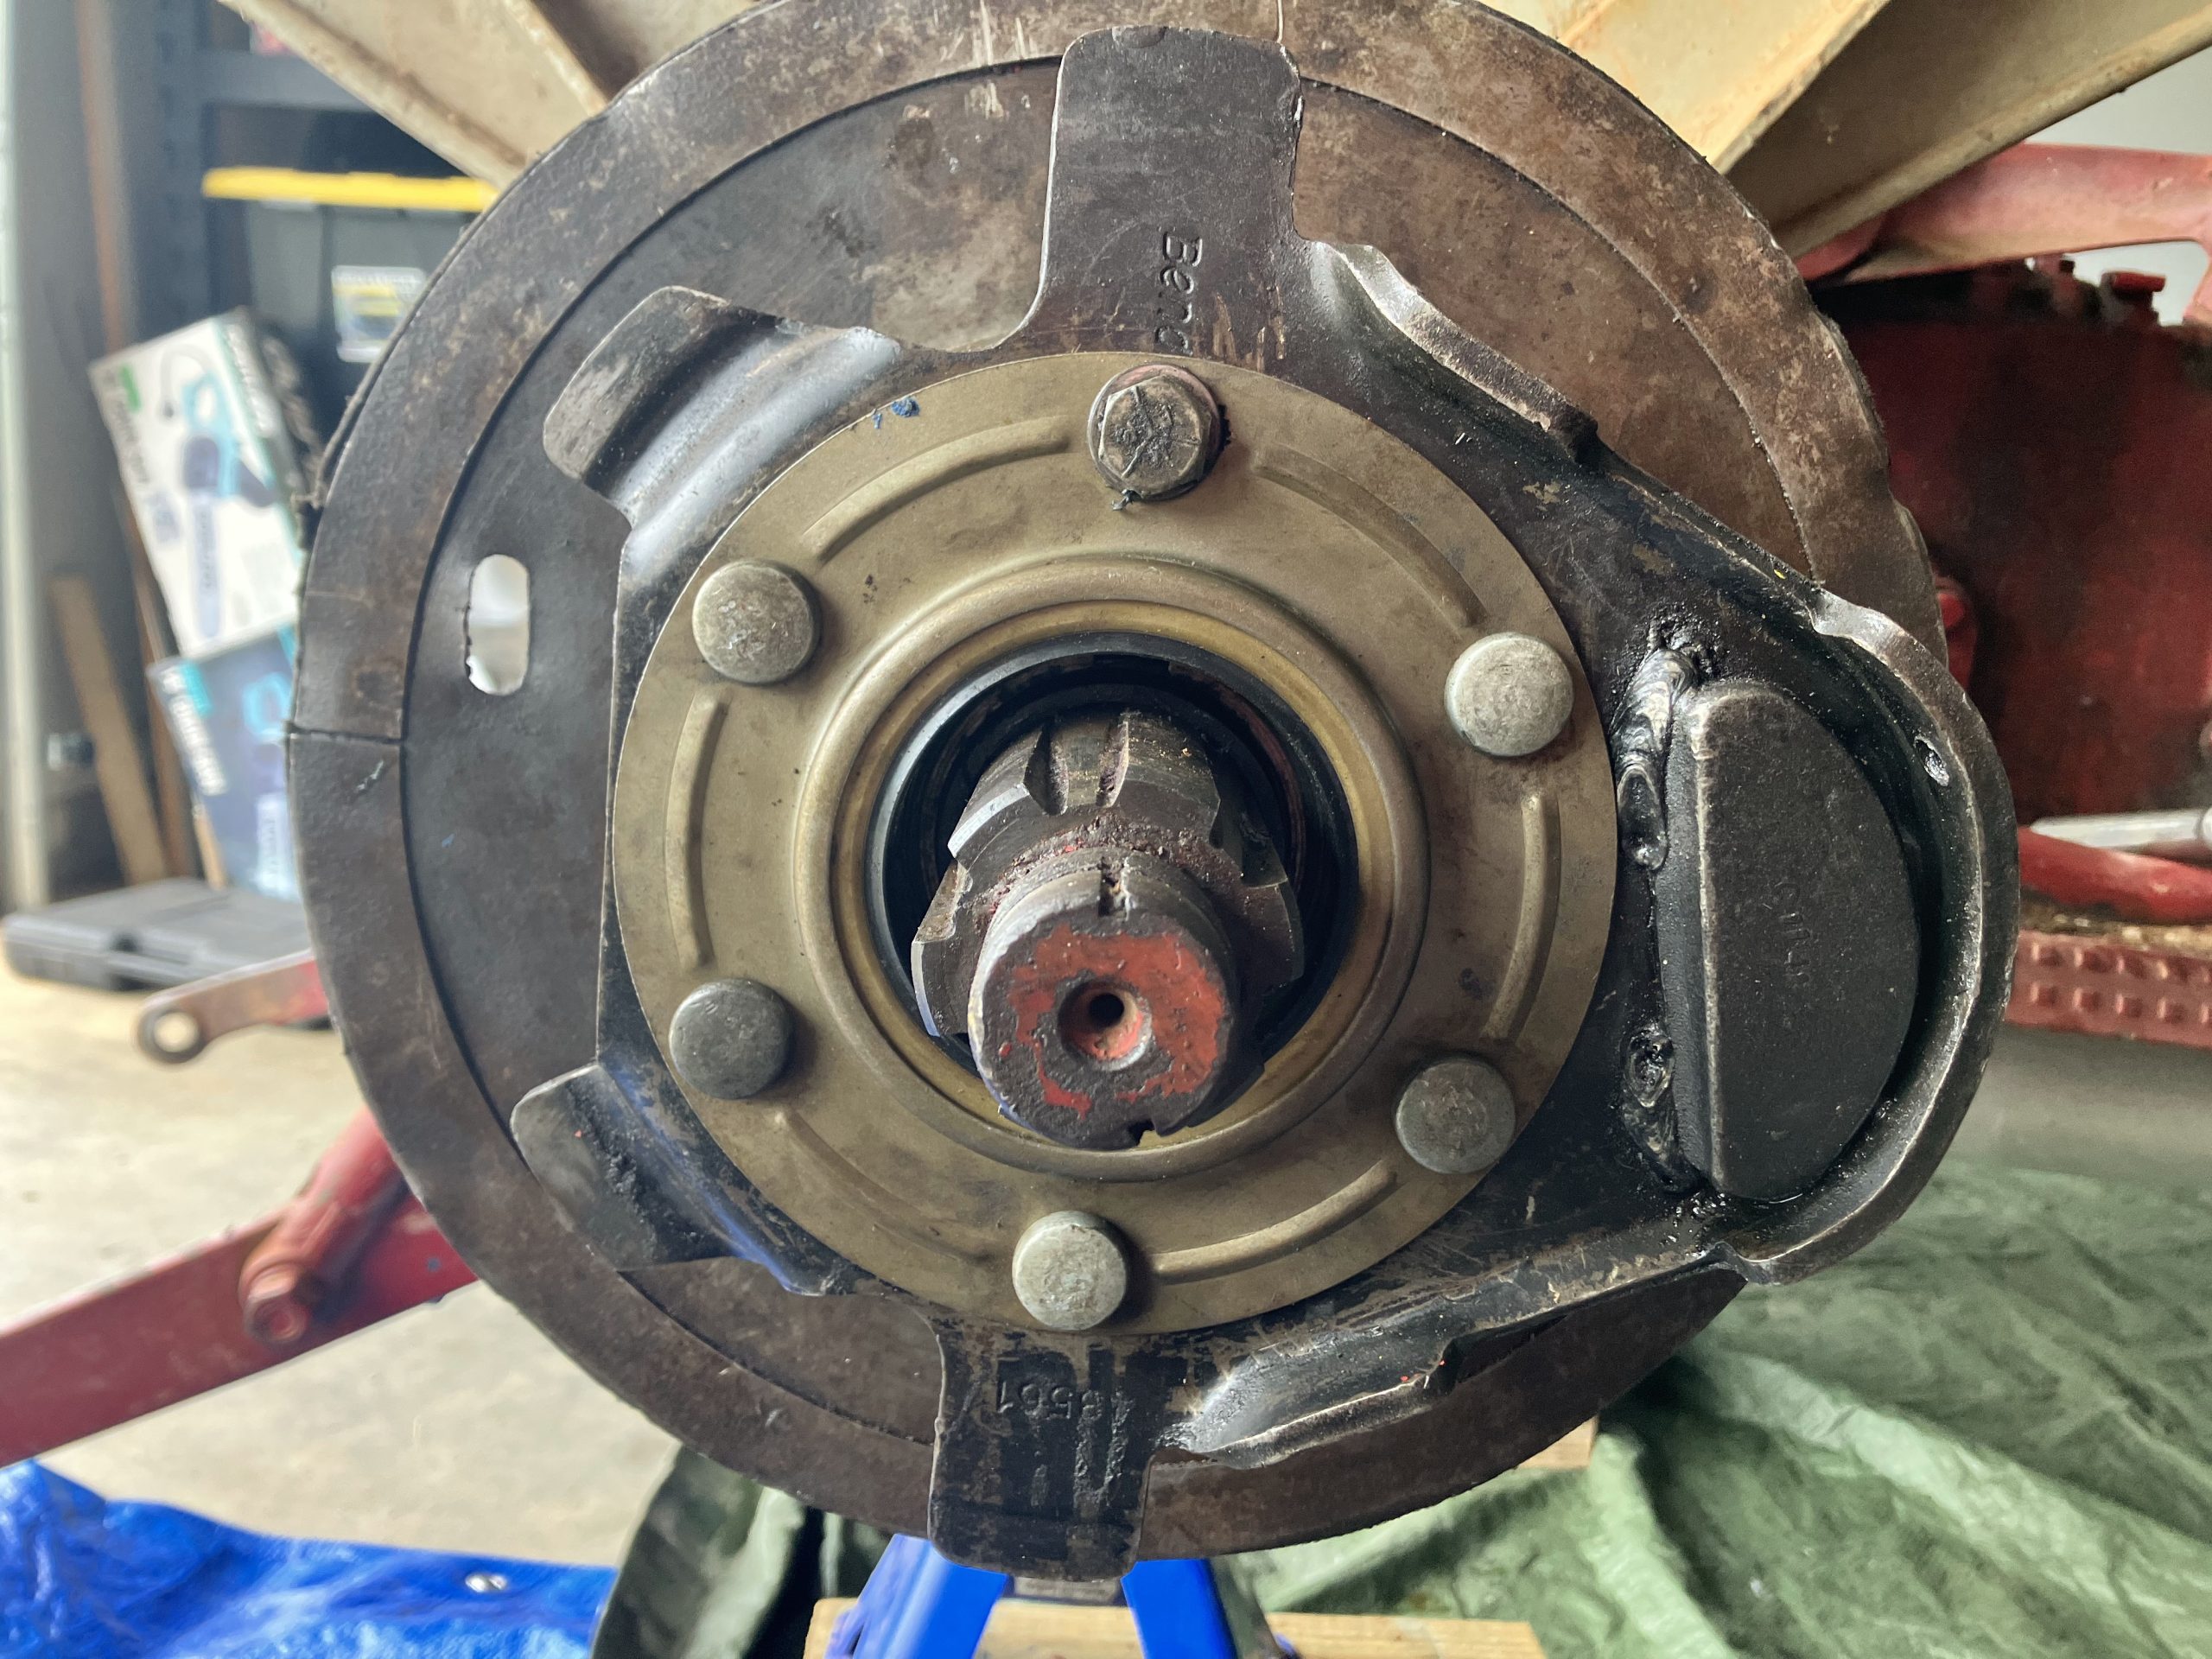
The hub slid right out, leaving me looking at the outer seal assembly.
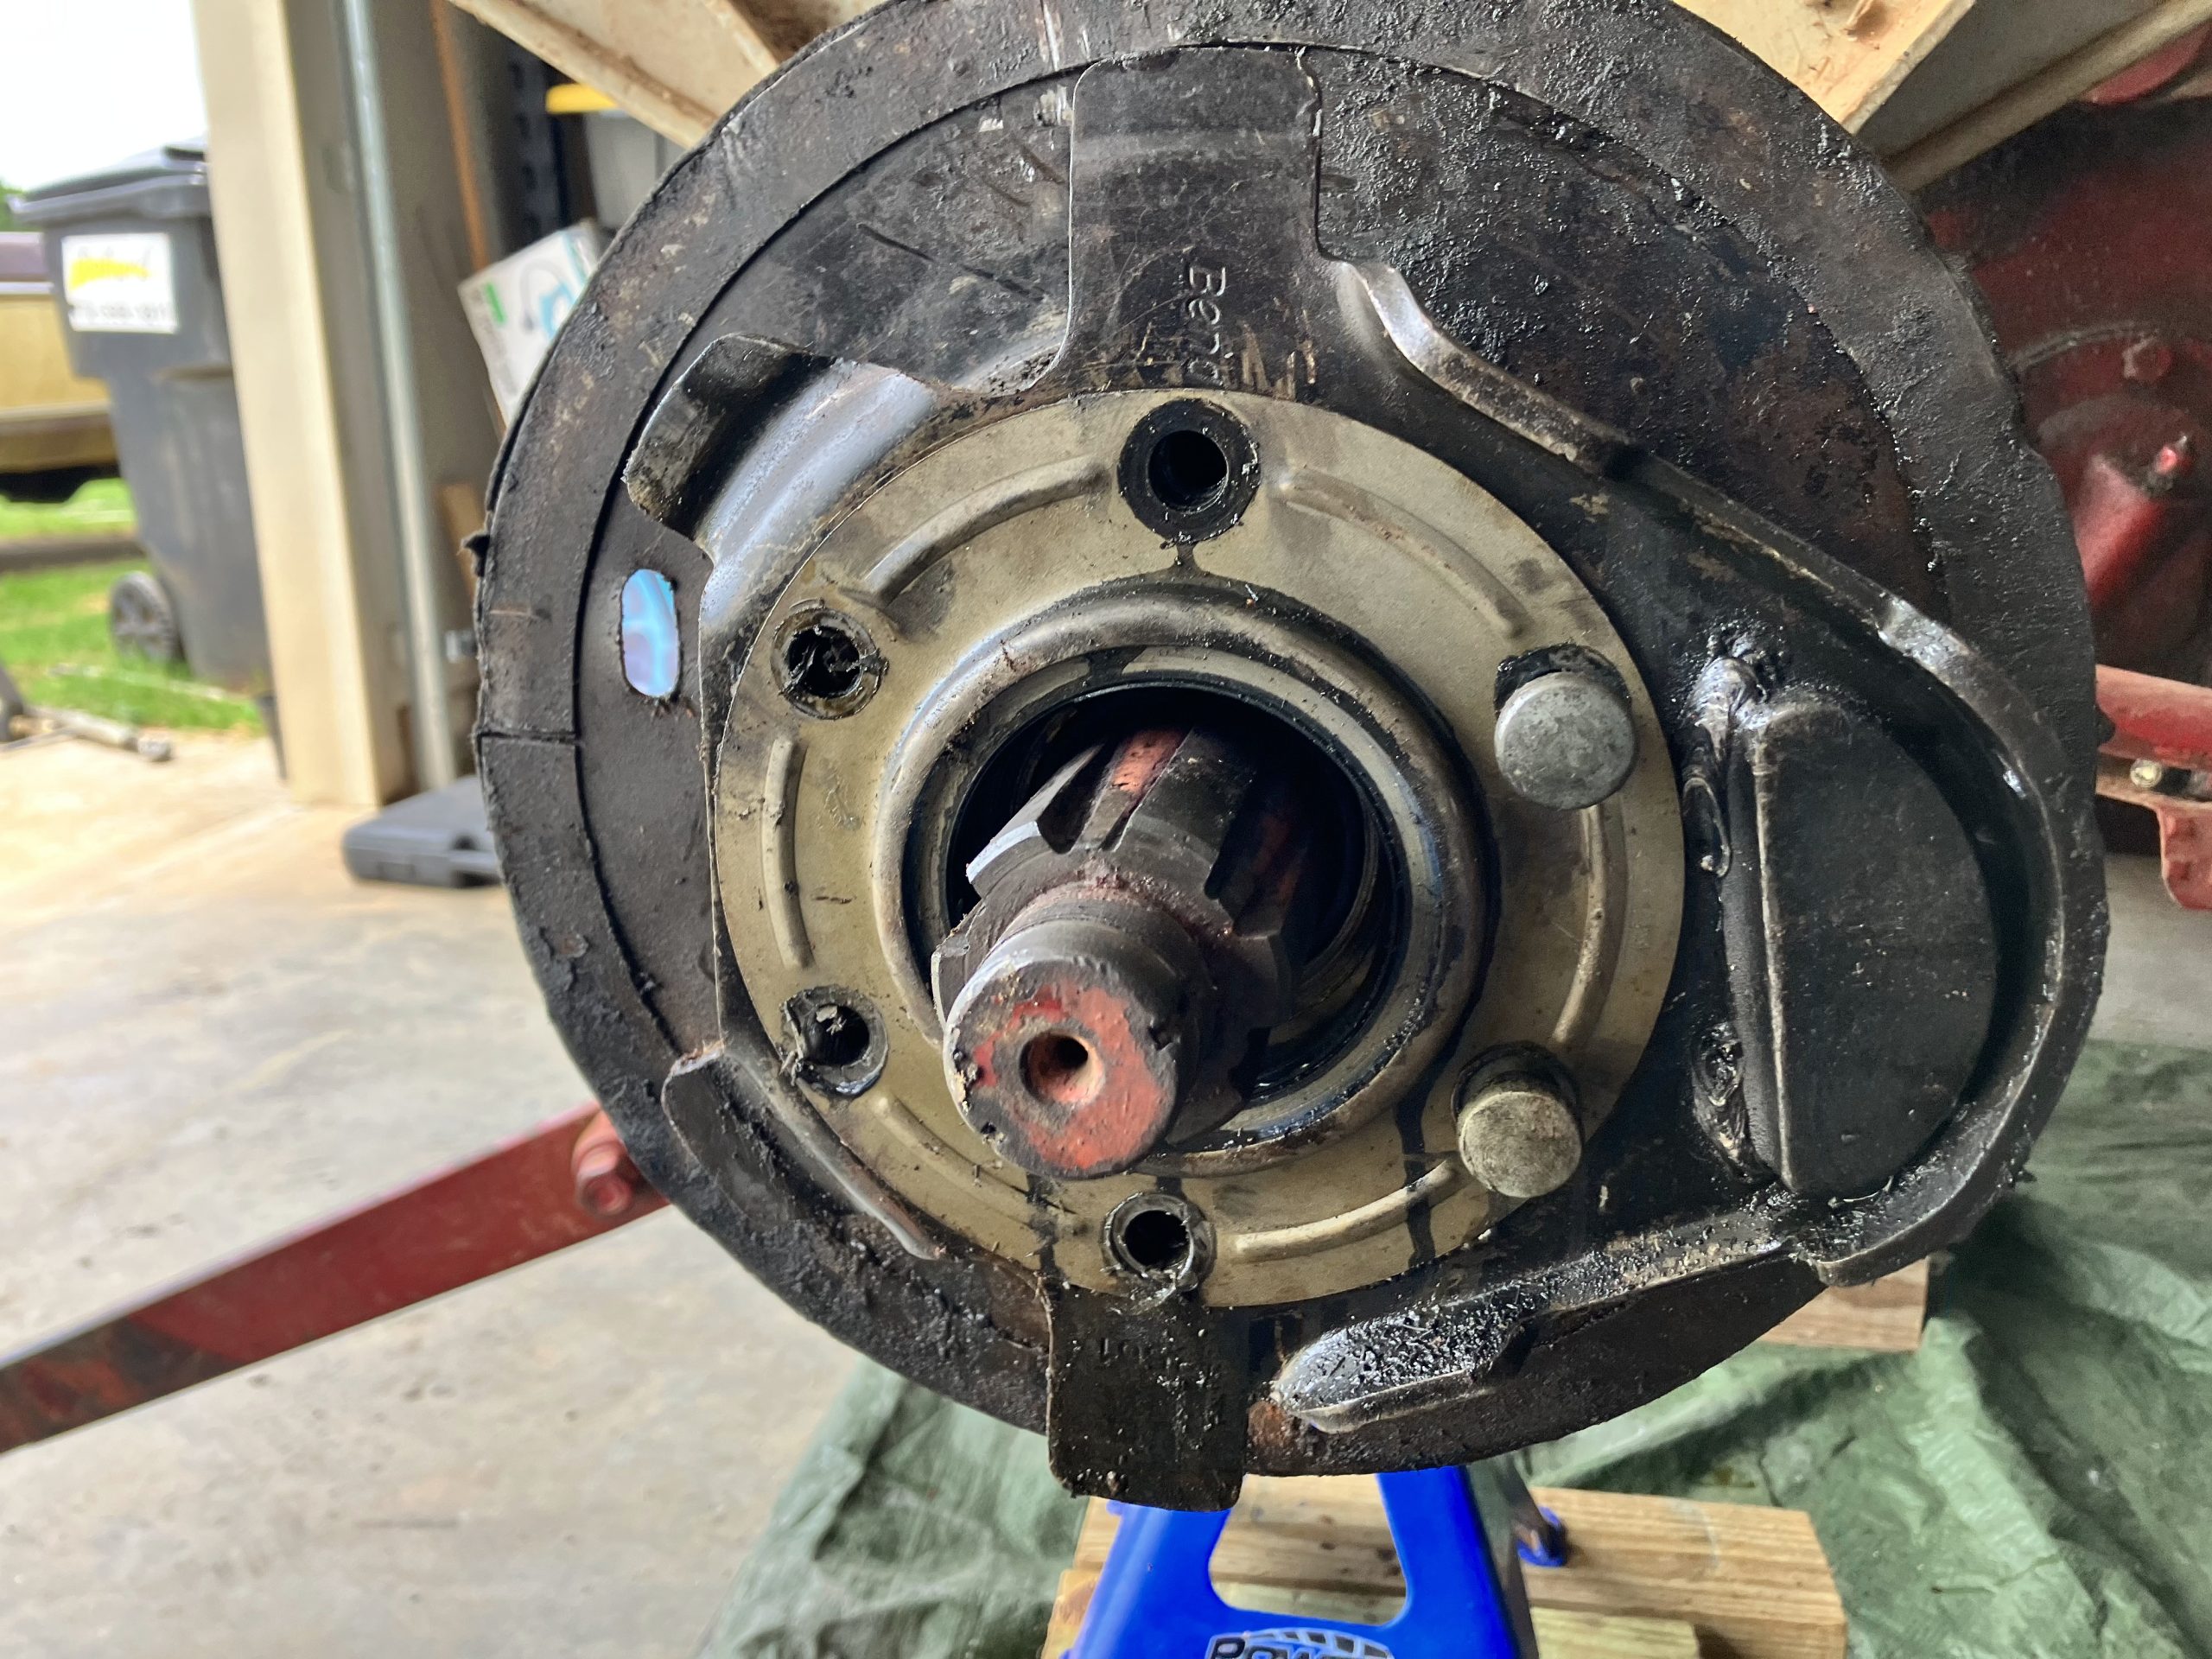
As you can see above, there are 6 bolts that go here. That’s a bit deceptive, because there are 7. There were 5 bolts on the outside, with nuts on the inside (toward the body of the tractor).
The top one, however, had 2 bolts – 1 each on the inside and outside. They bolt directly into the backing plate. It seems like the inside bolt helps hold the plate after you add shims and while you get the long bolts in. The outer one holds the seal in place to the backing plate.
The 5 nuts and 1 bolt on the inside were 11/16. The one on the outside was 5/8. That was the right side.
On the left side, all of them were 11/16.
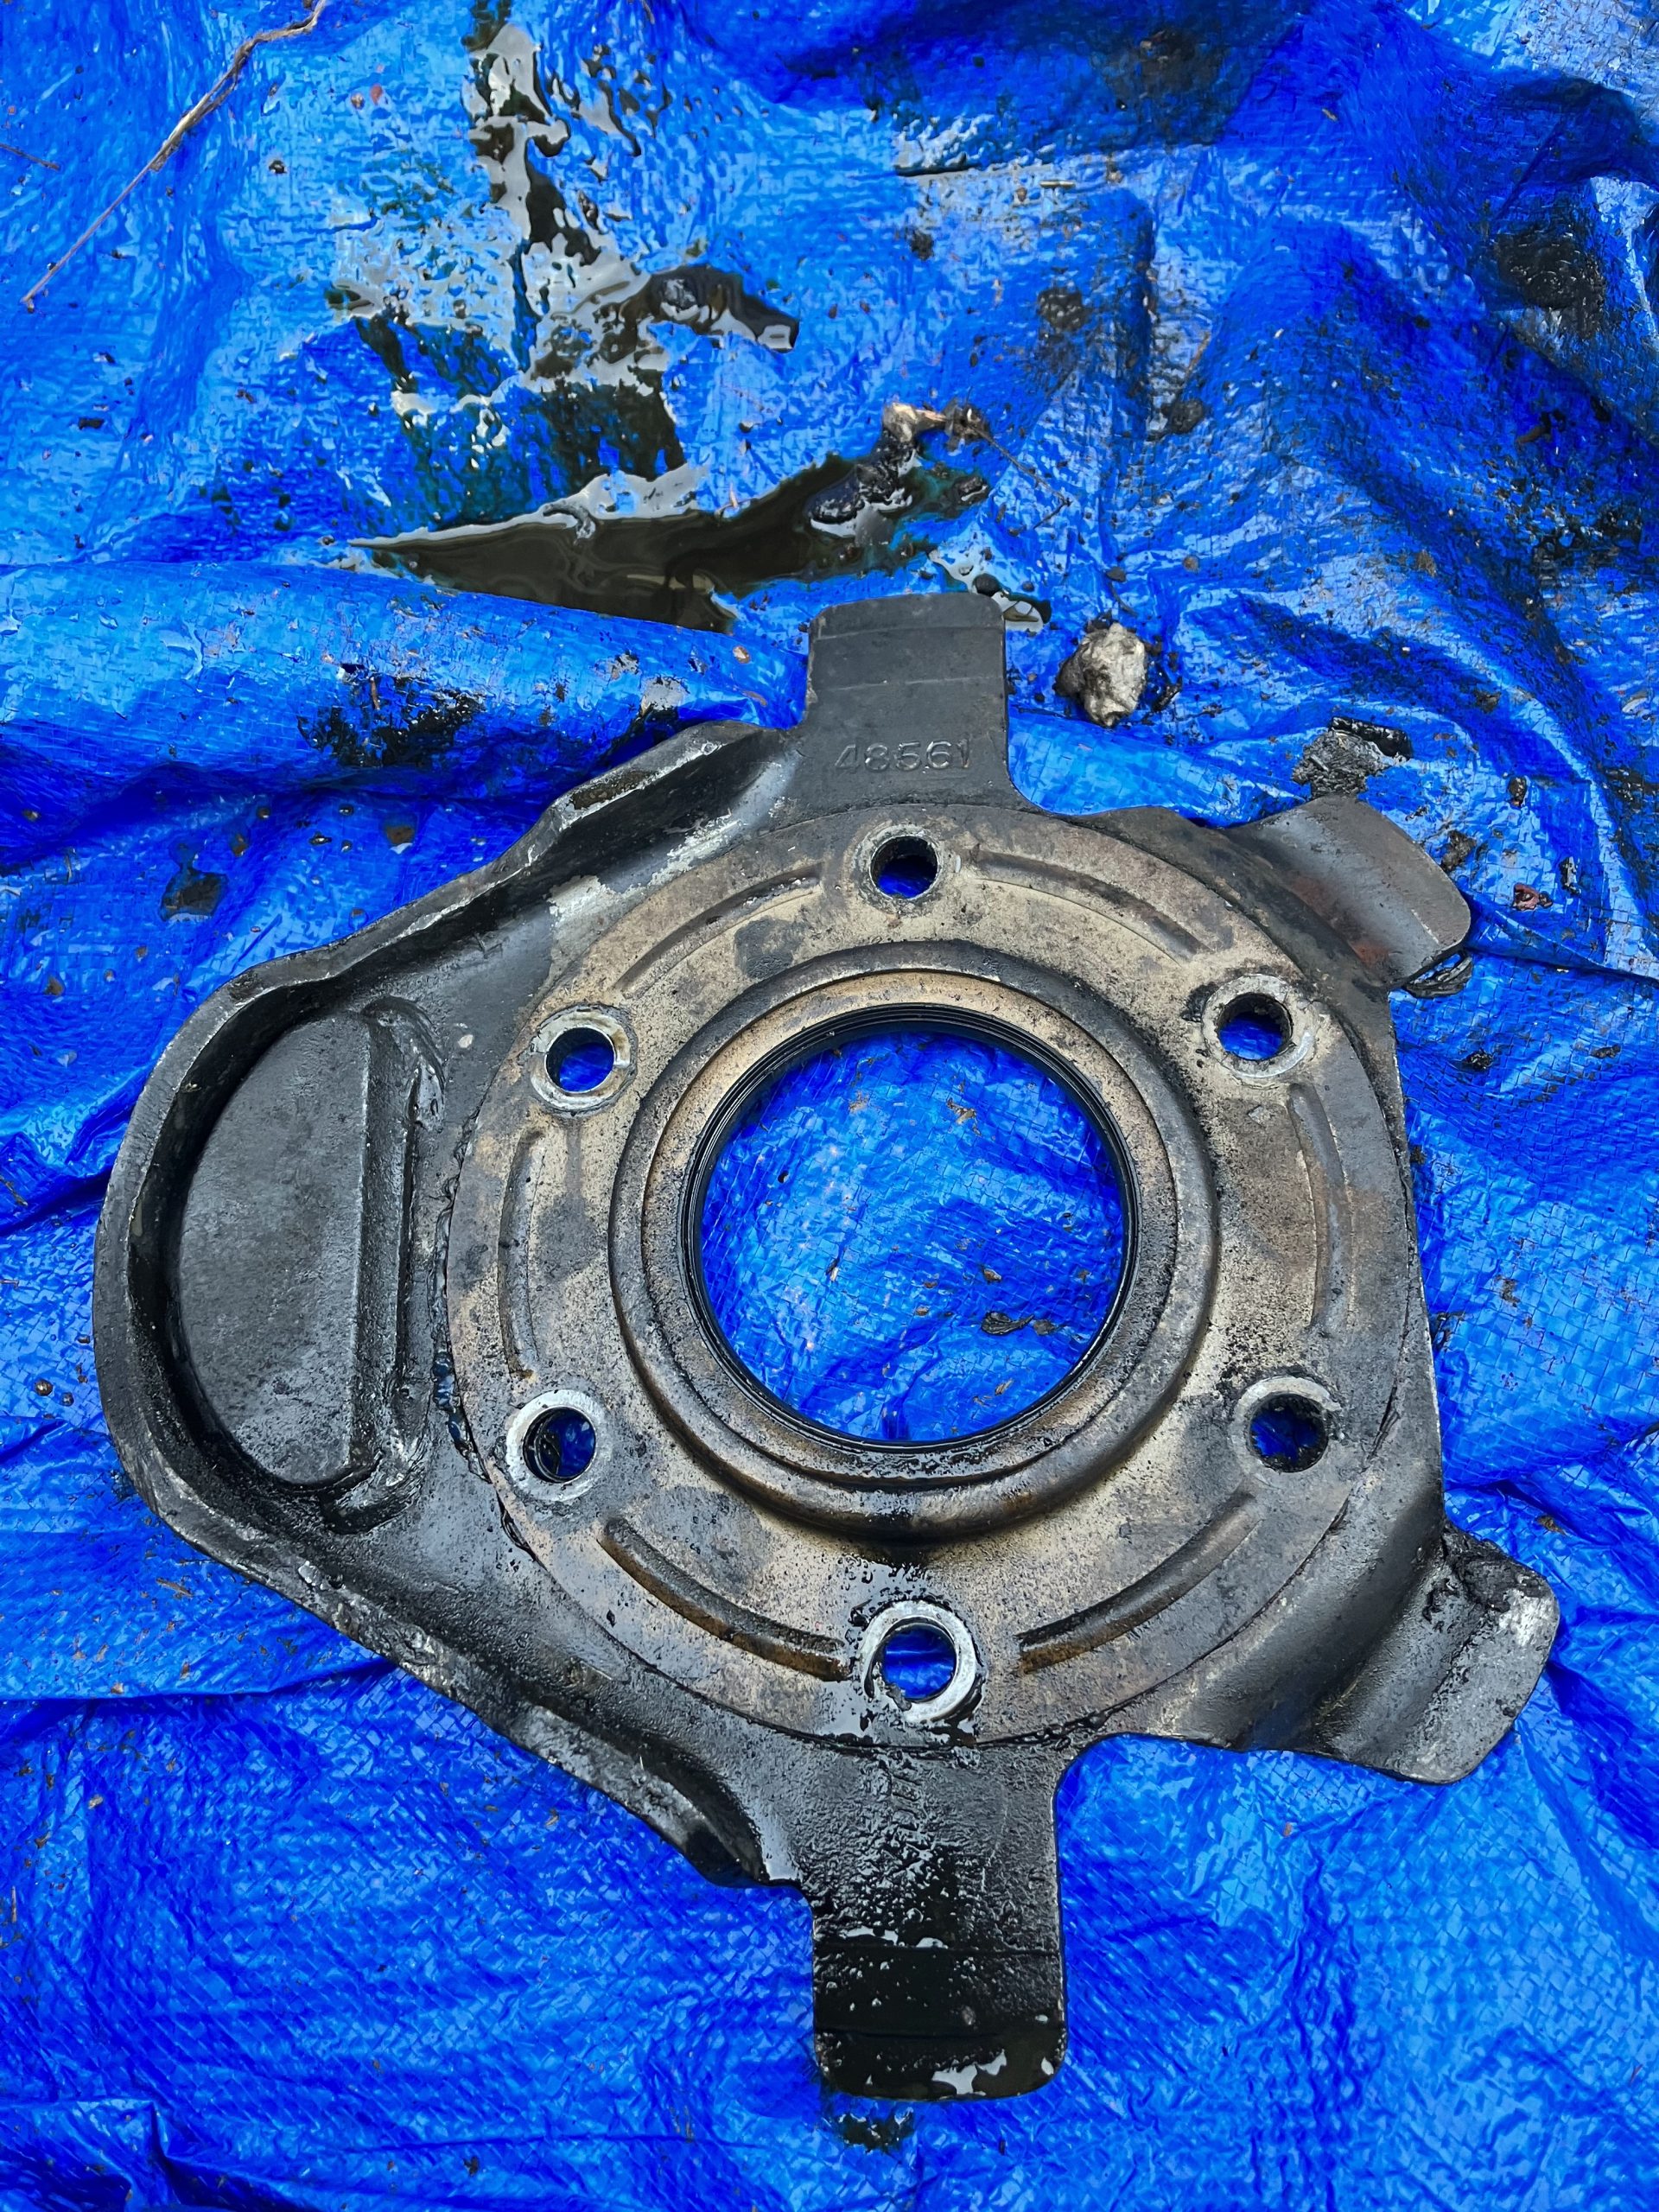
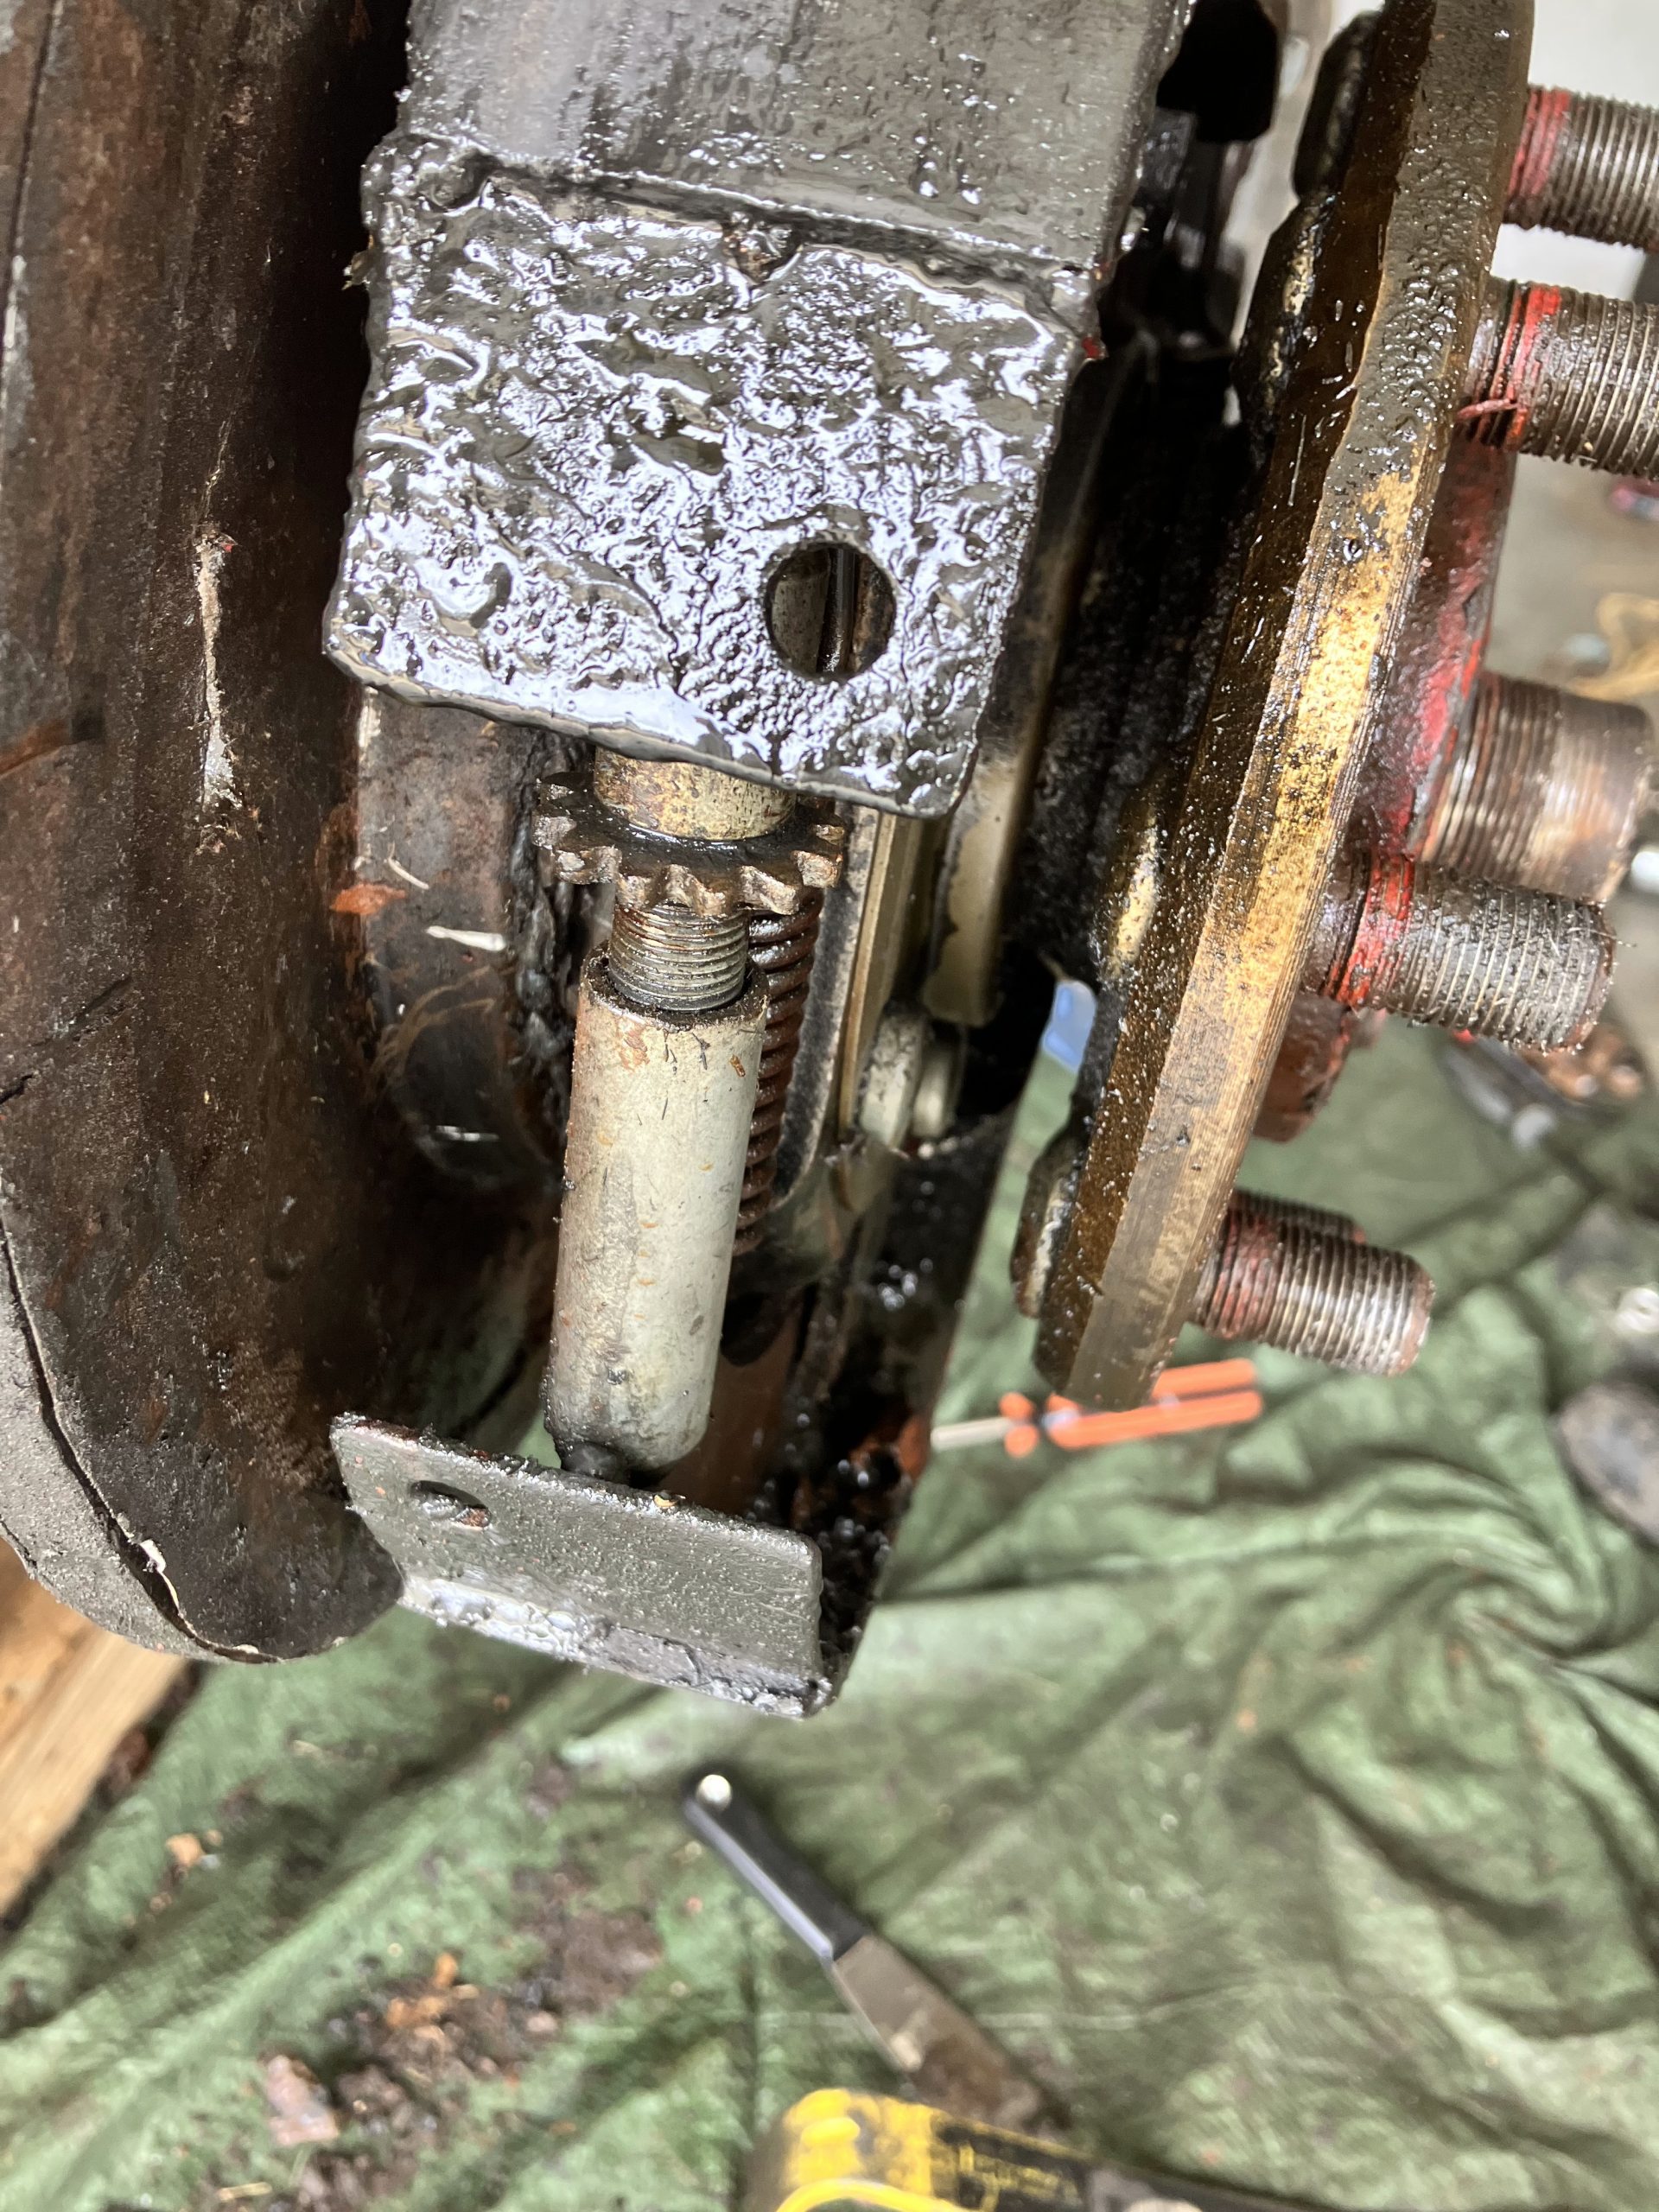
I removed the seal retainer next, which contains the seal itself. Then I removed the brake backing plate.
At this point the right brake arm, which slides into the rectangular hole in the picture below, fell out, since it had no pressure holding it in place.

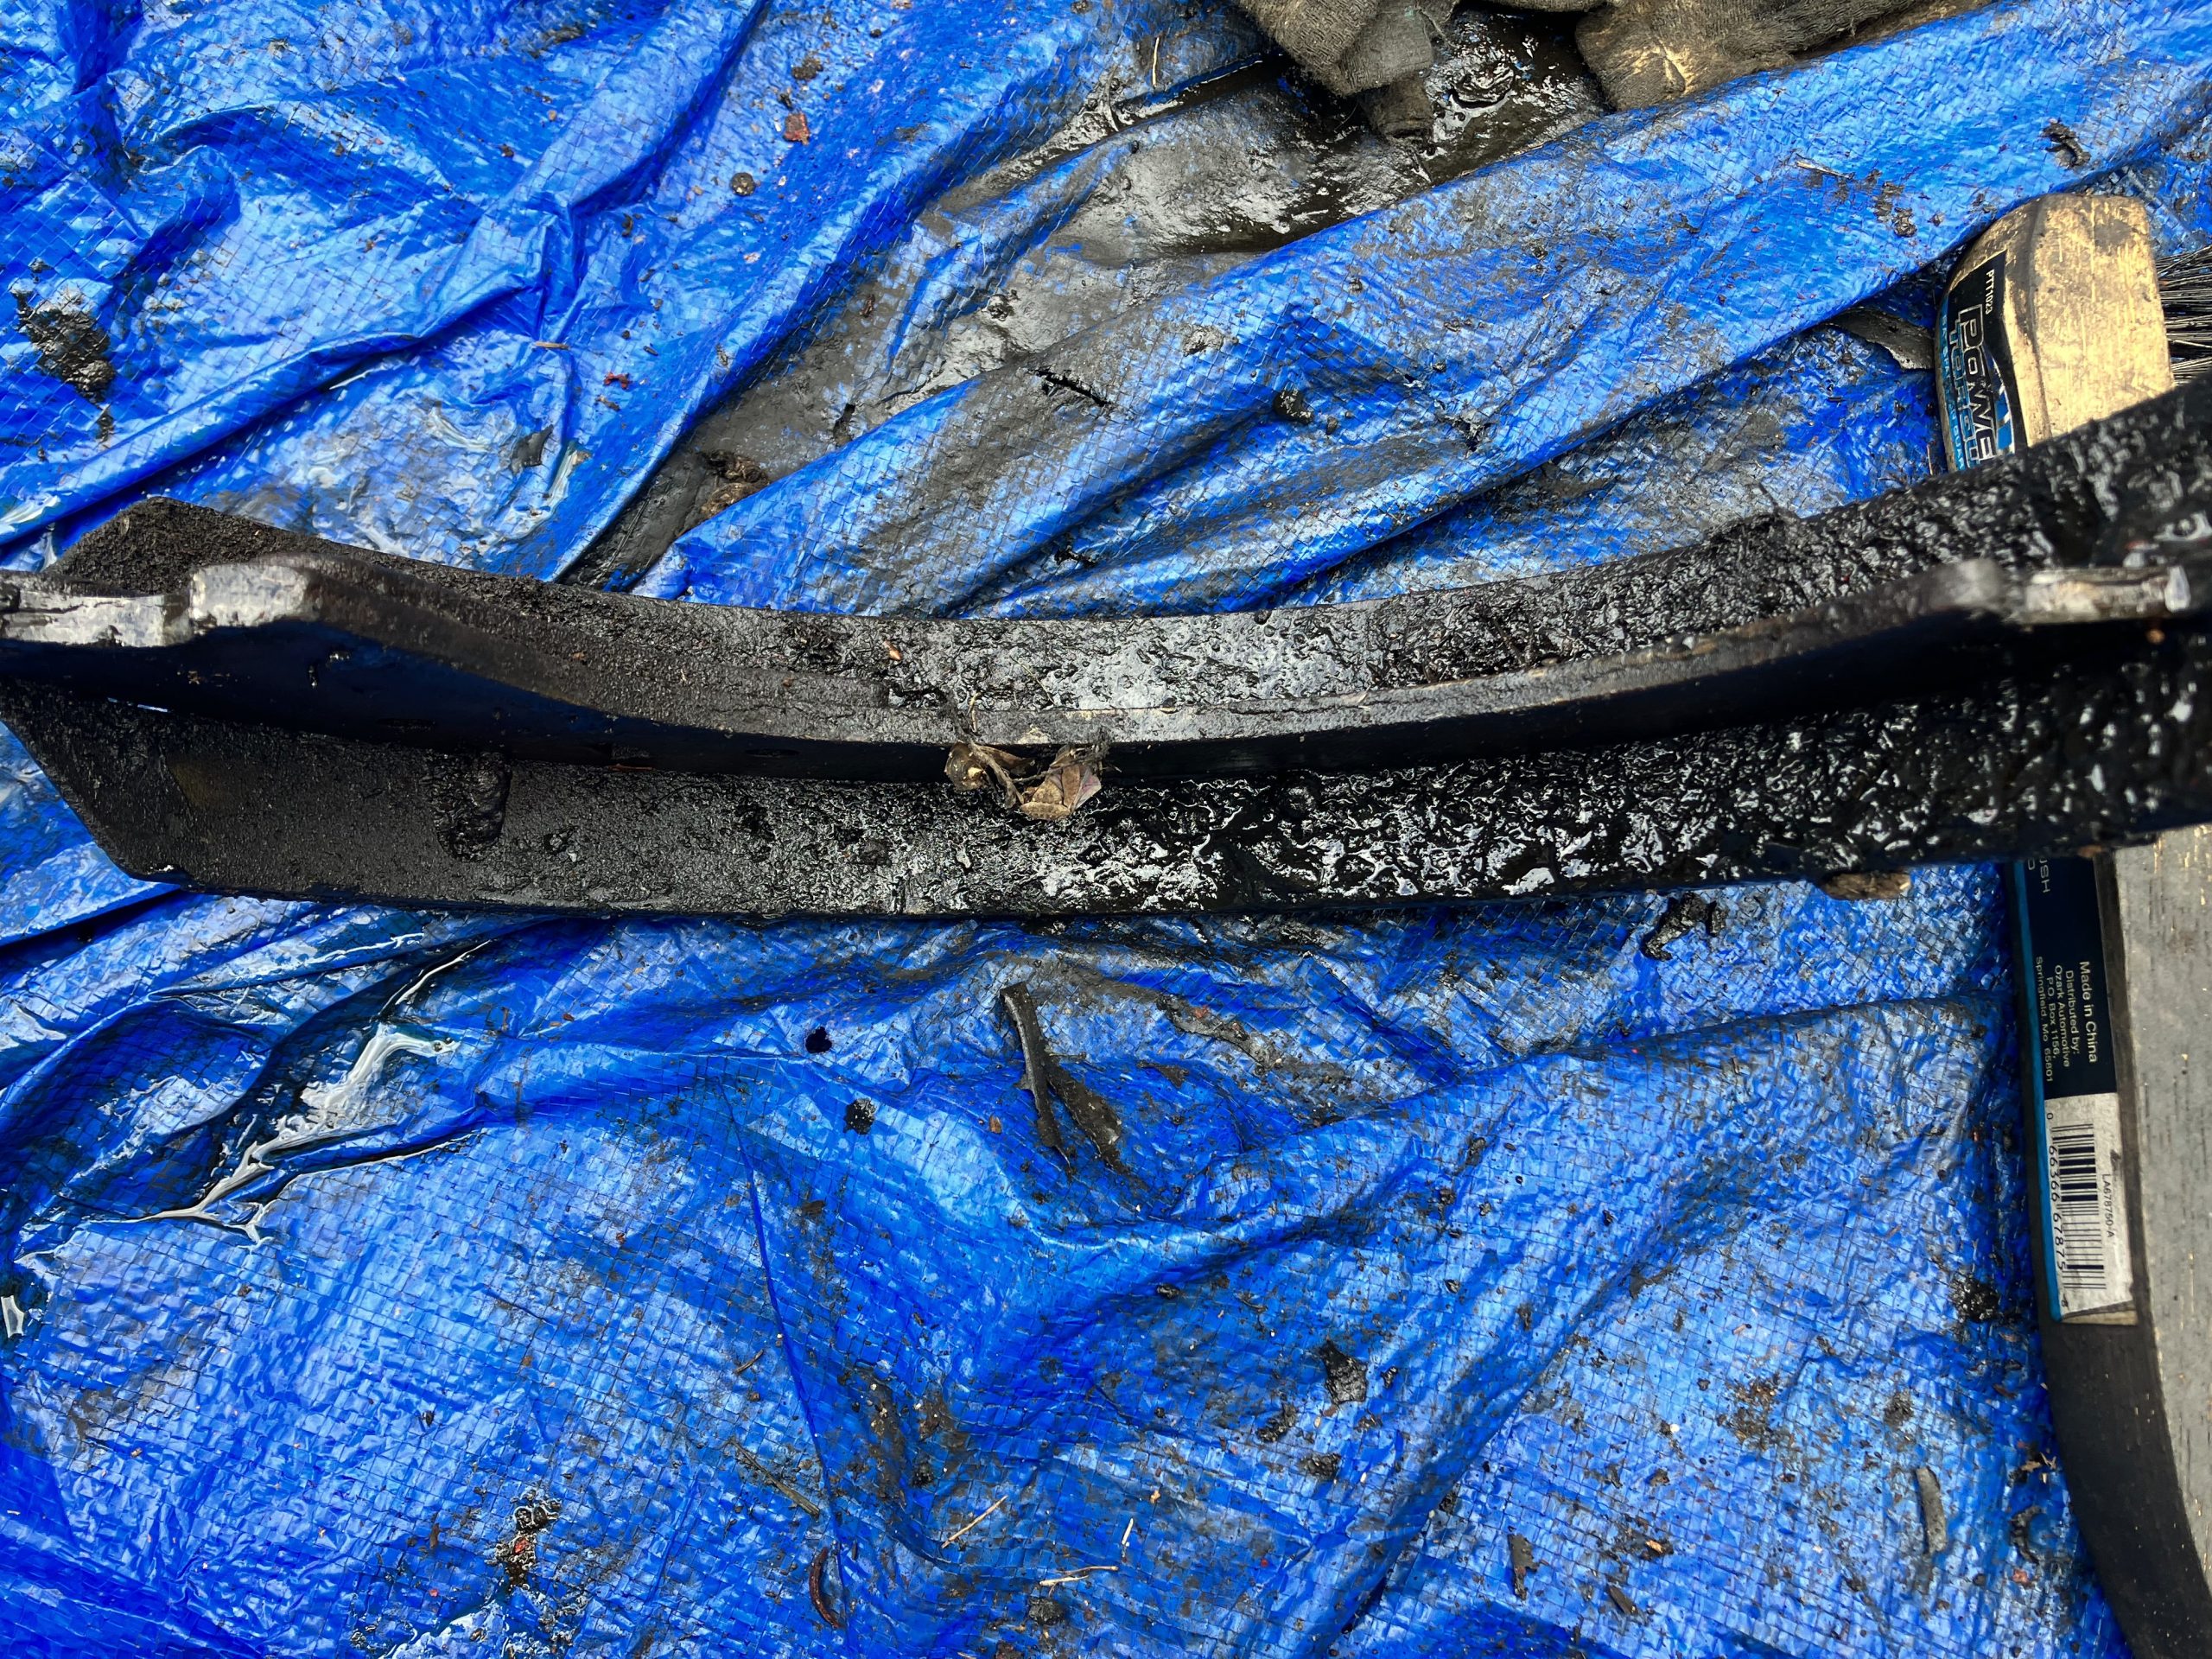
The next thing was to remove the brake dust cover (the large disc-looking piece). It has a slot running around its circumference where a felt strip fits. This helps keep dust out of the brake drum.
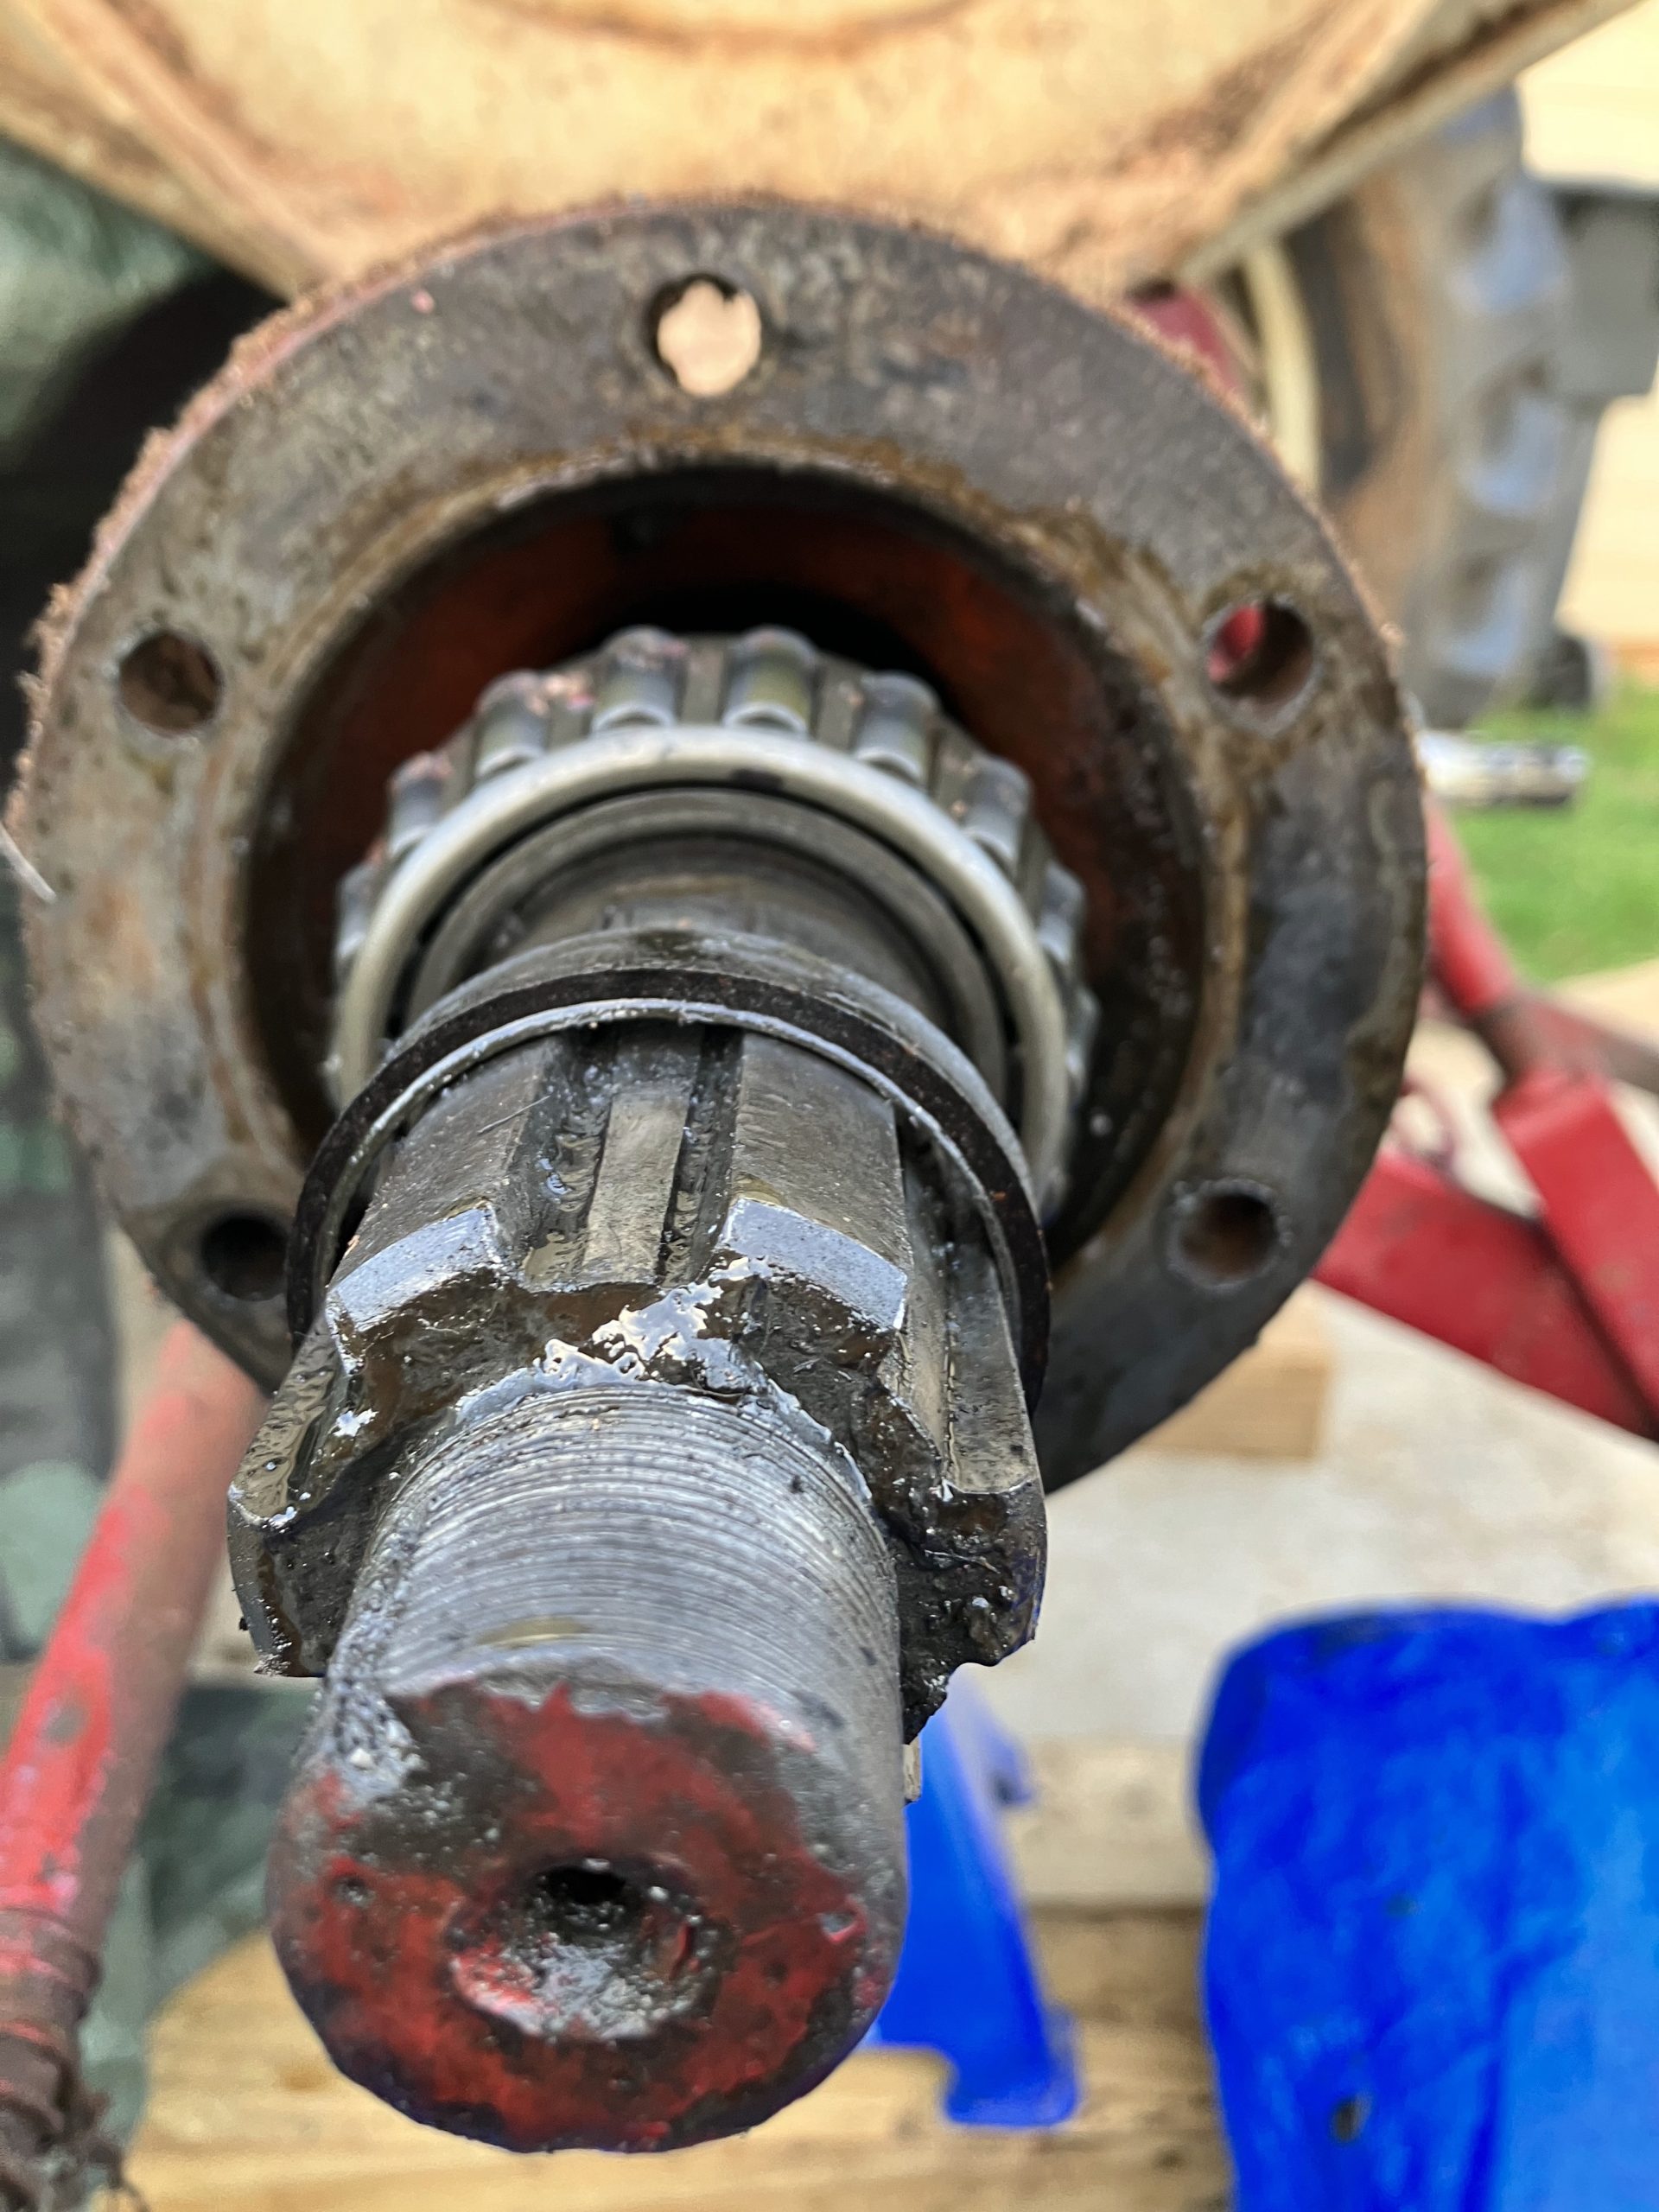
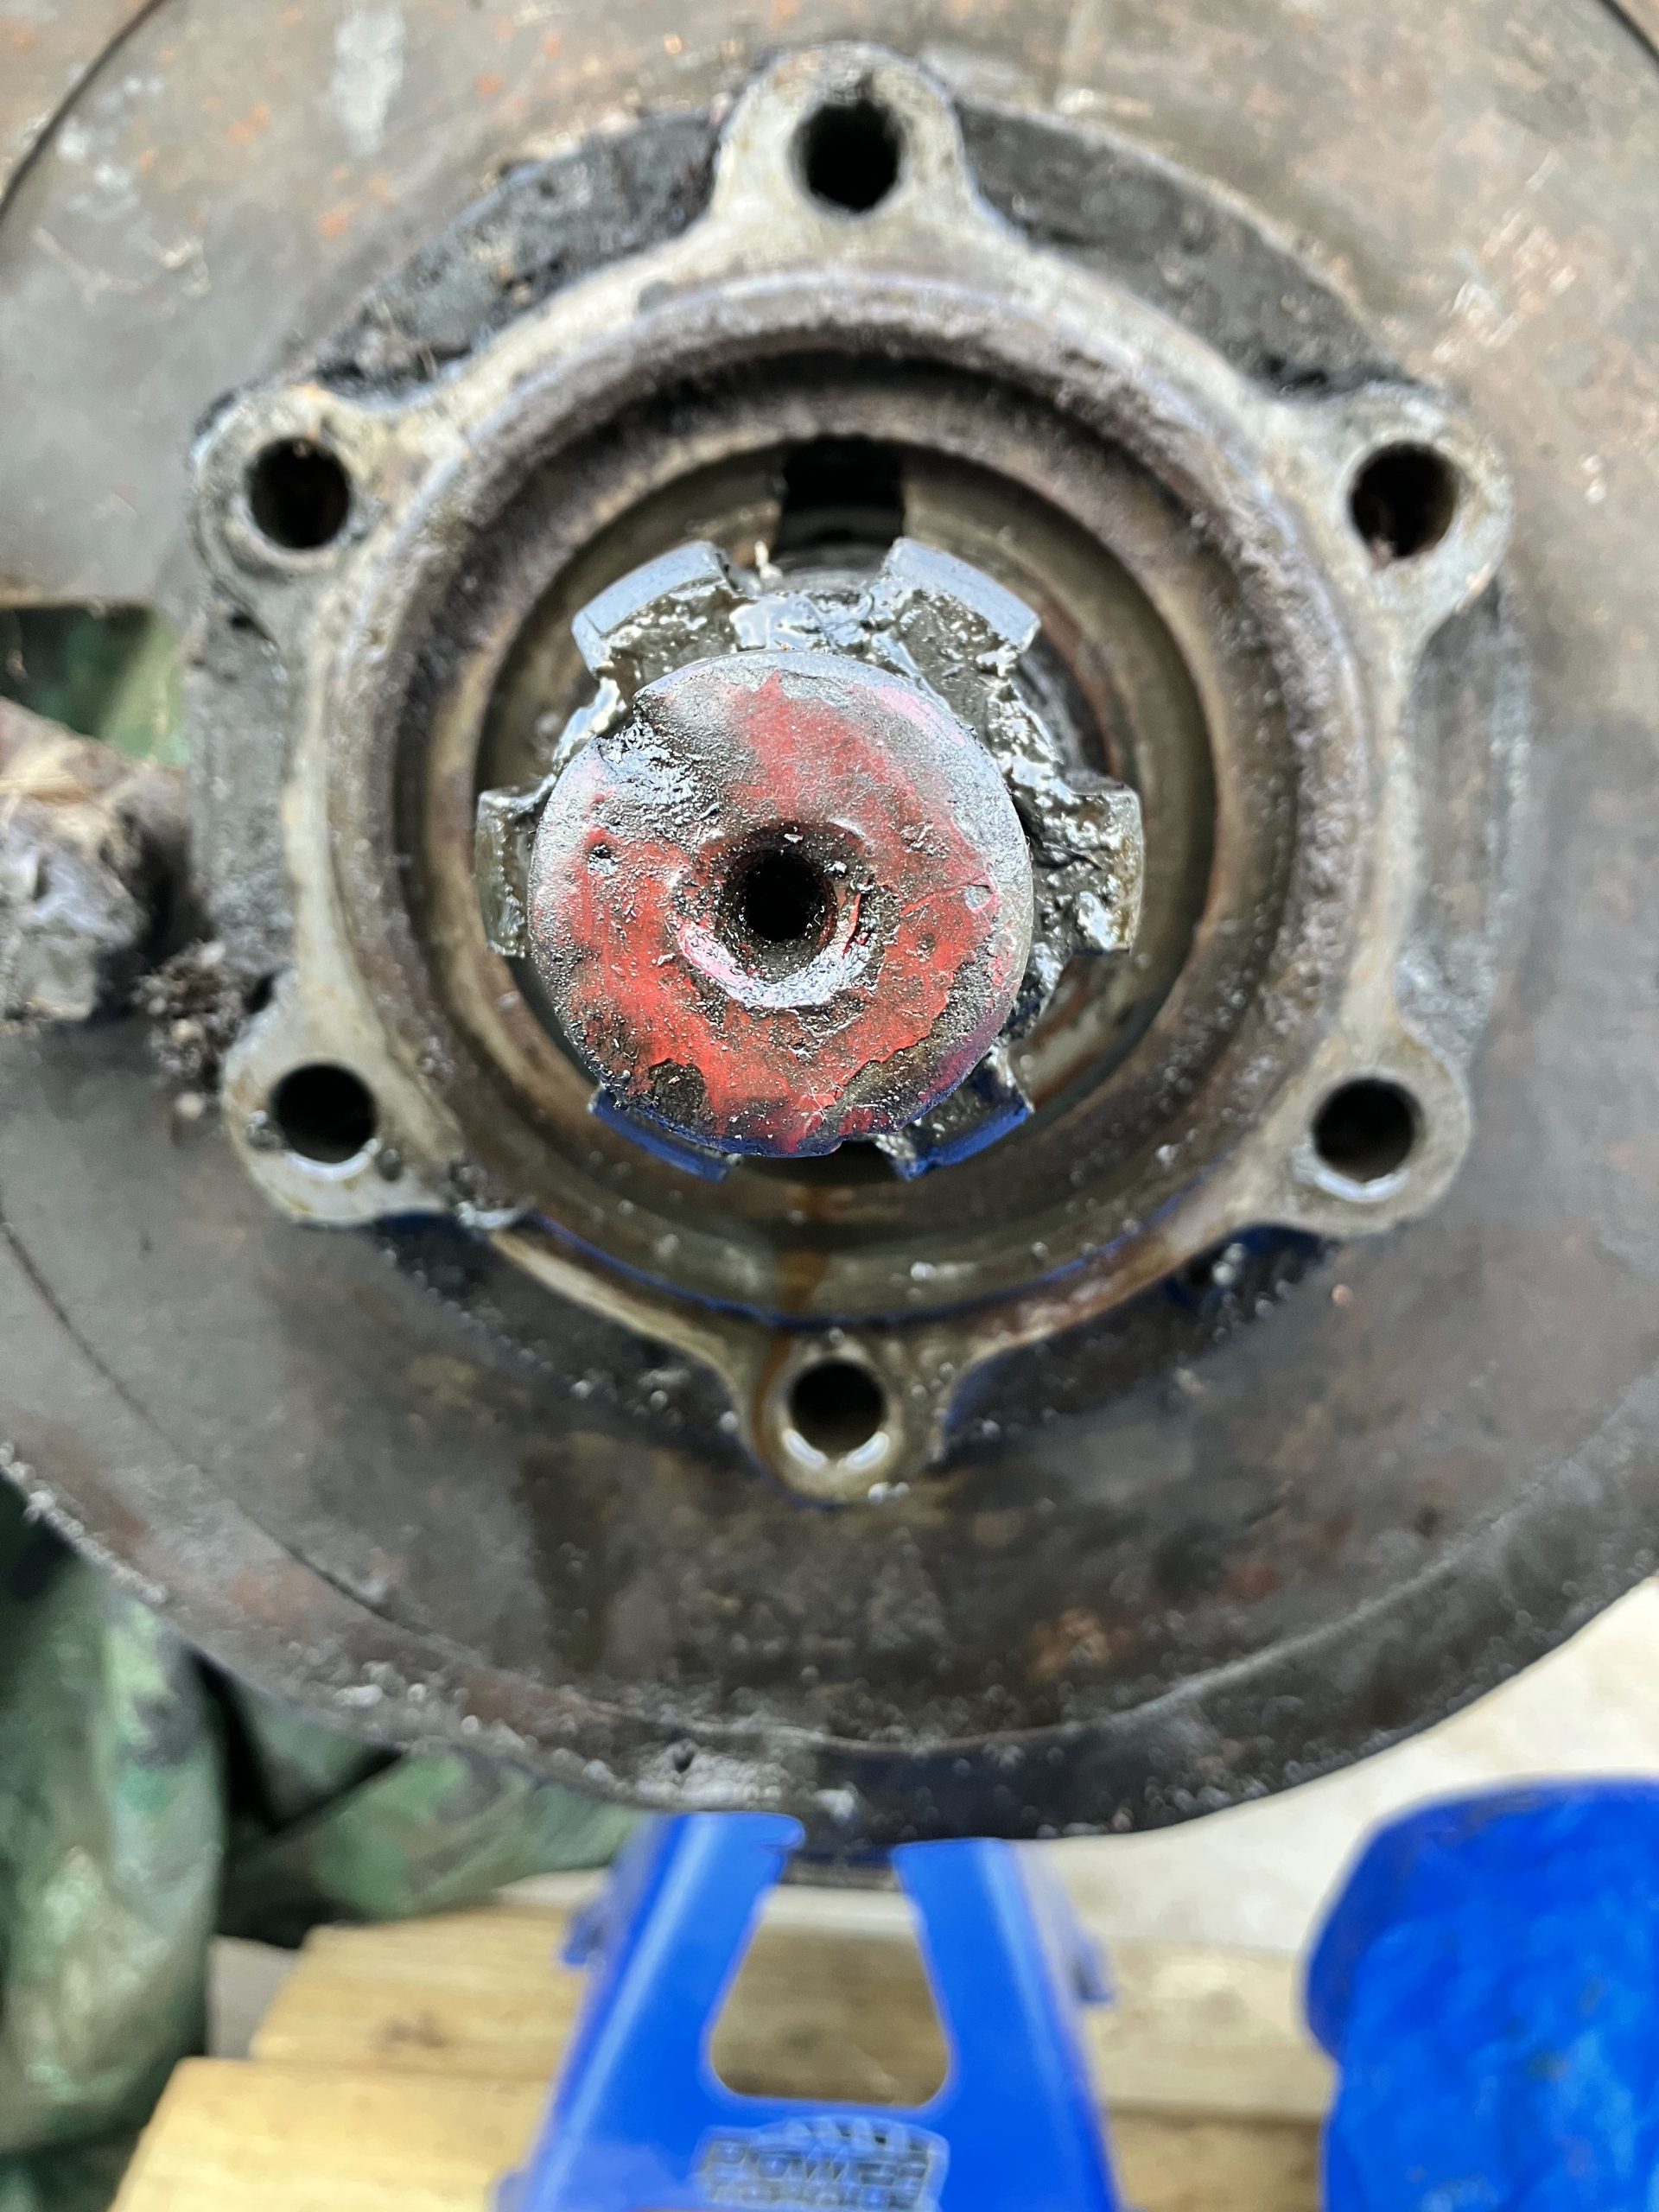
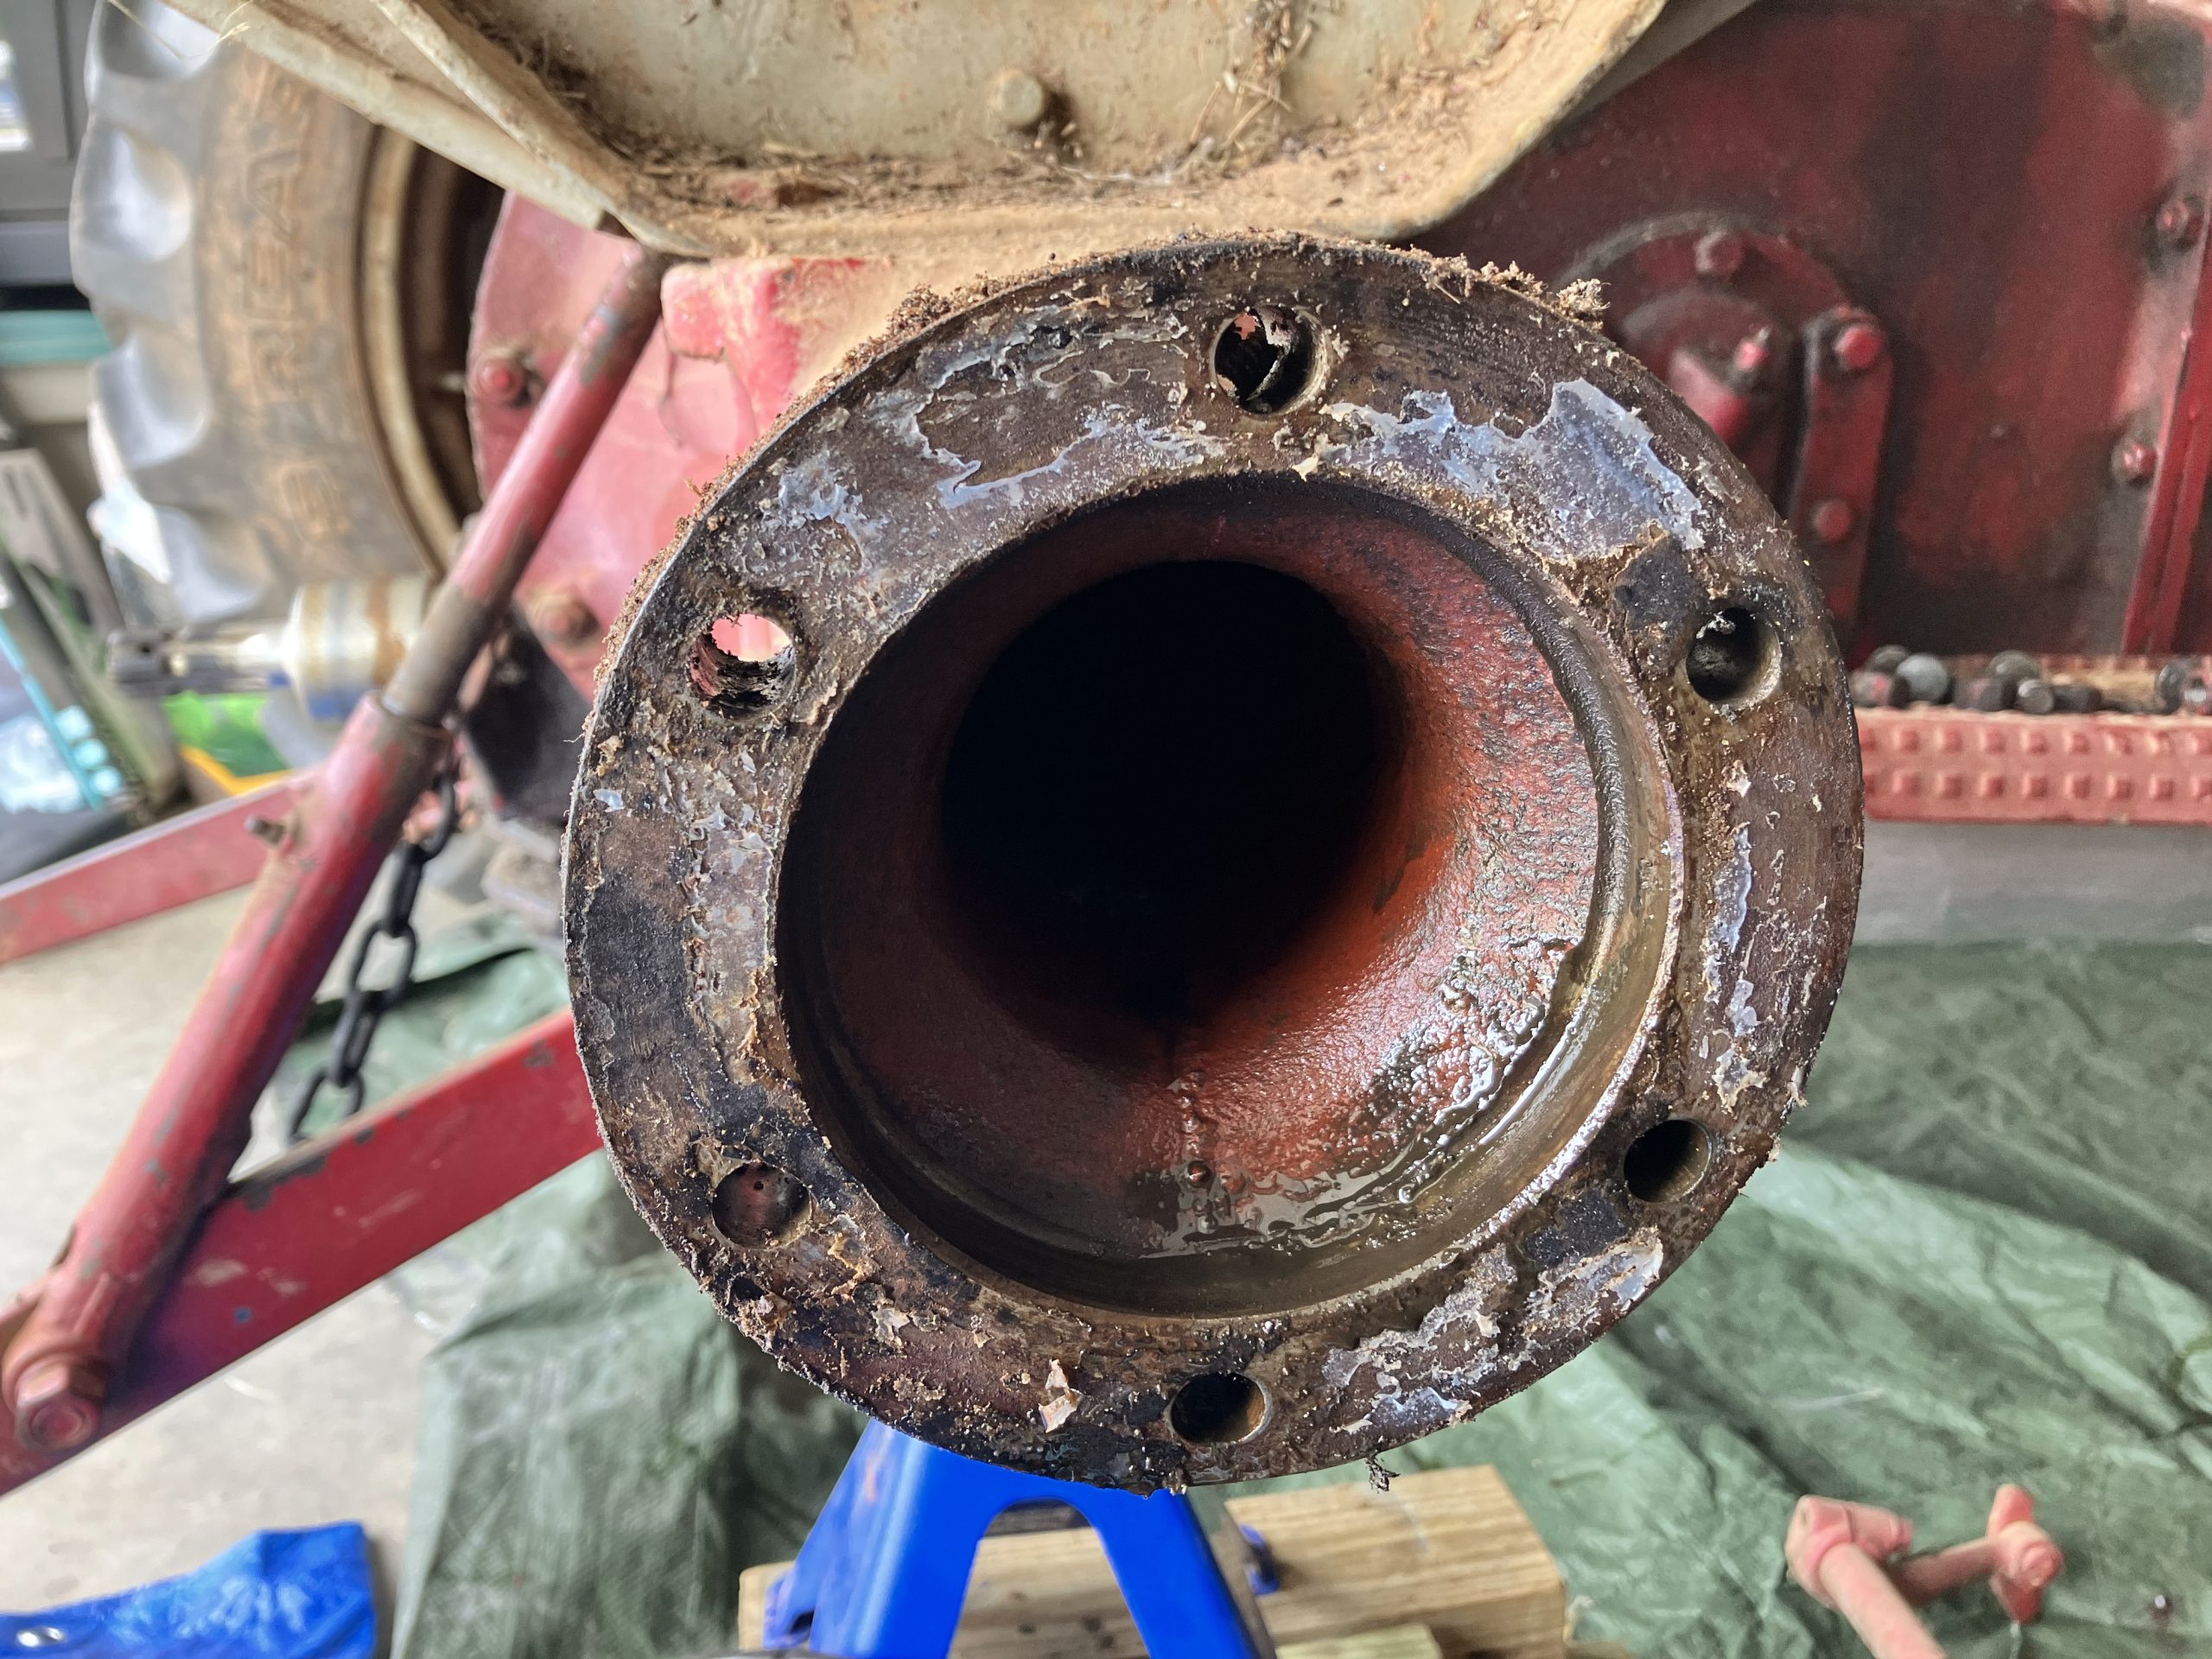
With the brake dust cover off, we were down to the trumpet. You can see some gasket and sealant still hanging in there.
Here is all the gunk and other stuff from inside the hub assembly. You can also see the metal shims (which they no longer make), old RTV goo, and the old axle gasket. And you can make out the remnants of the wasp nest.

I’m glad that’s outside the hub now
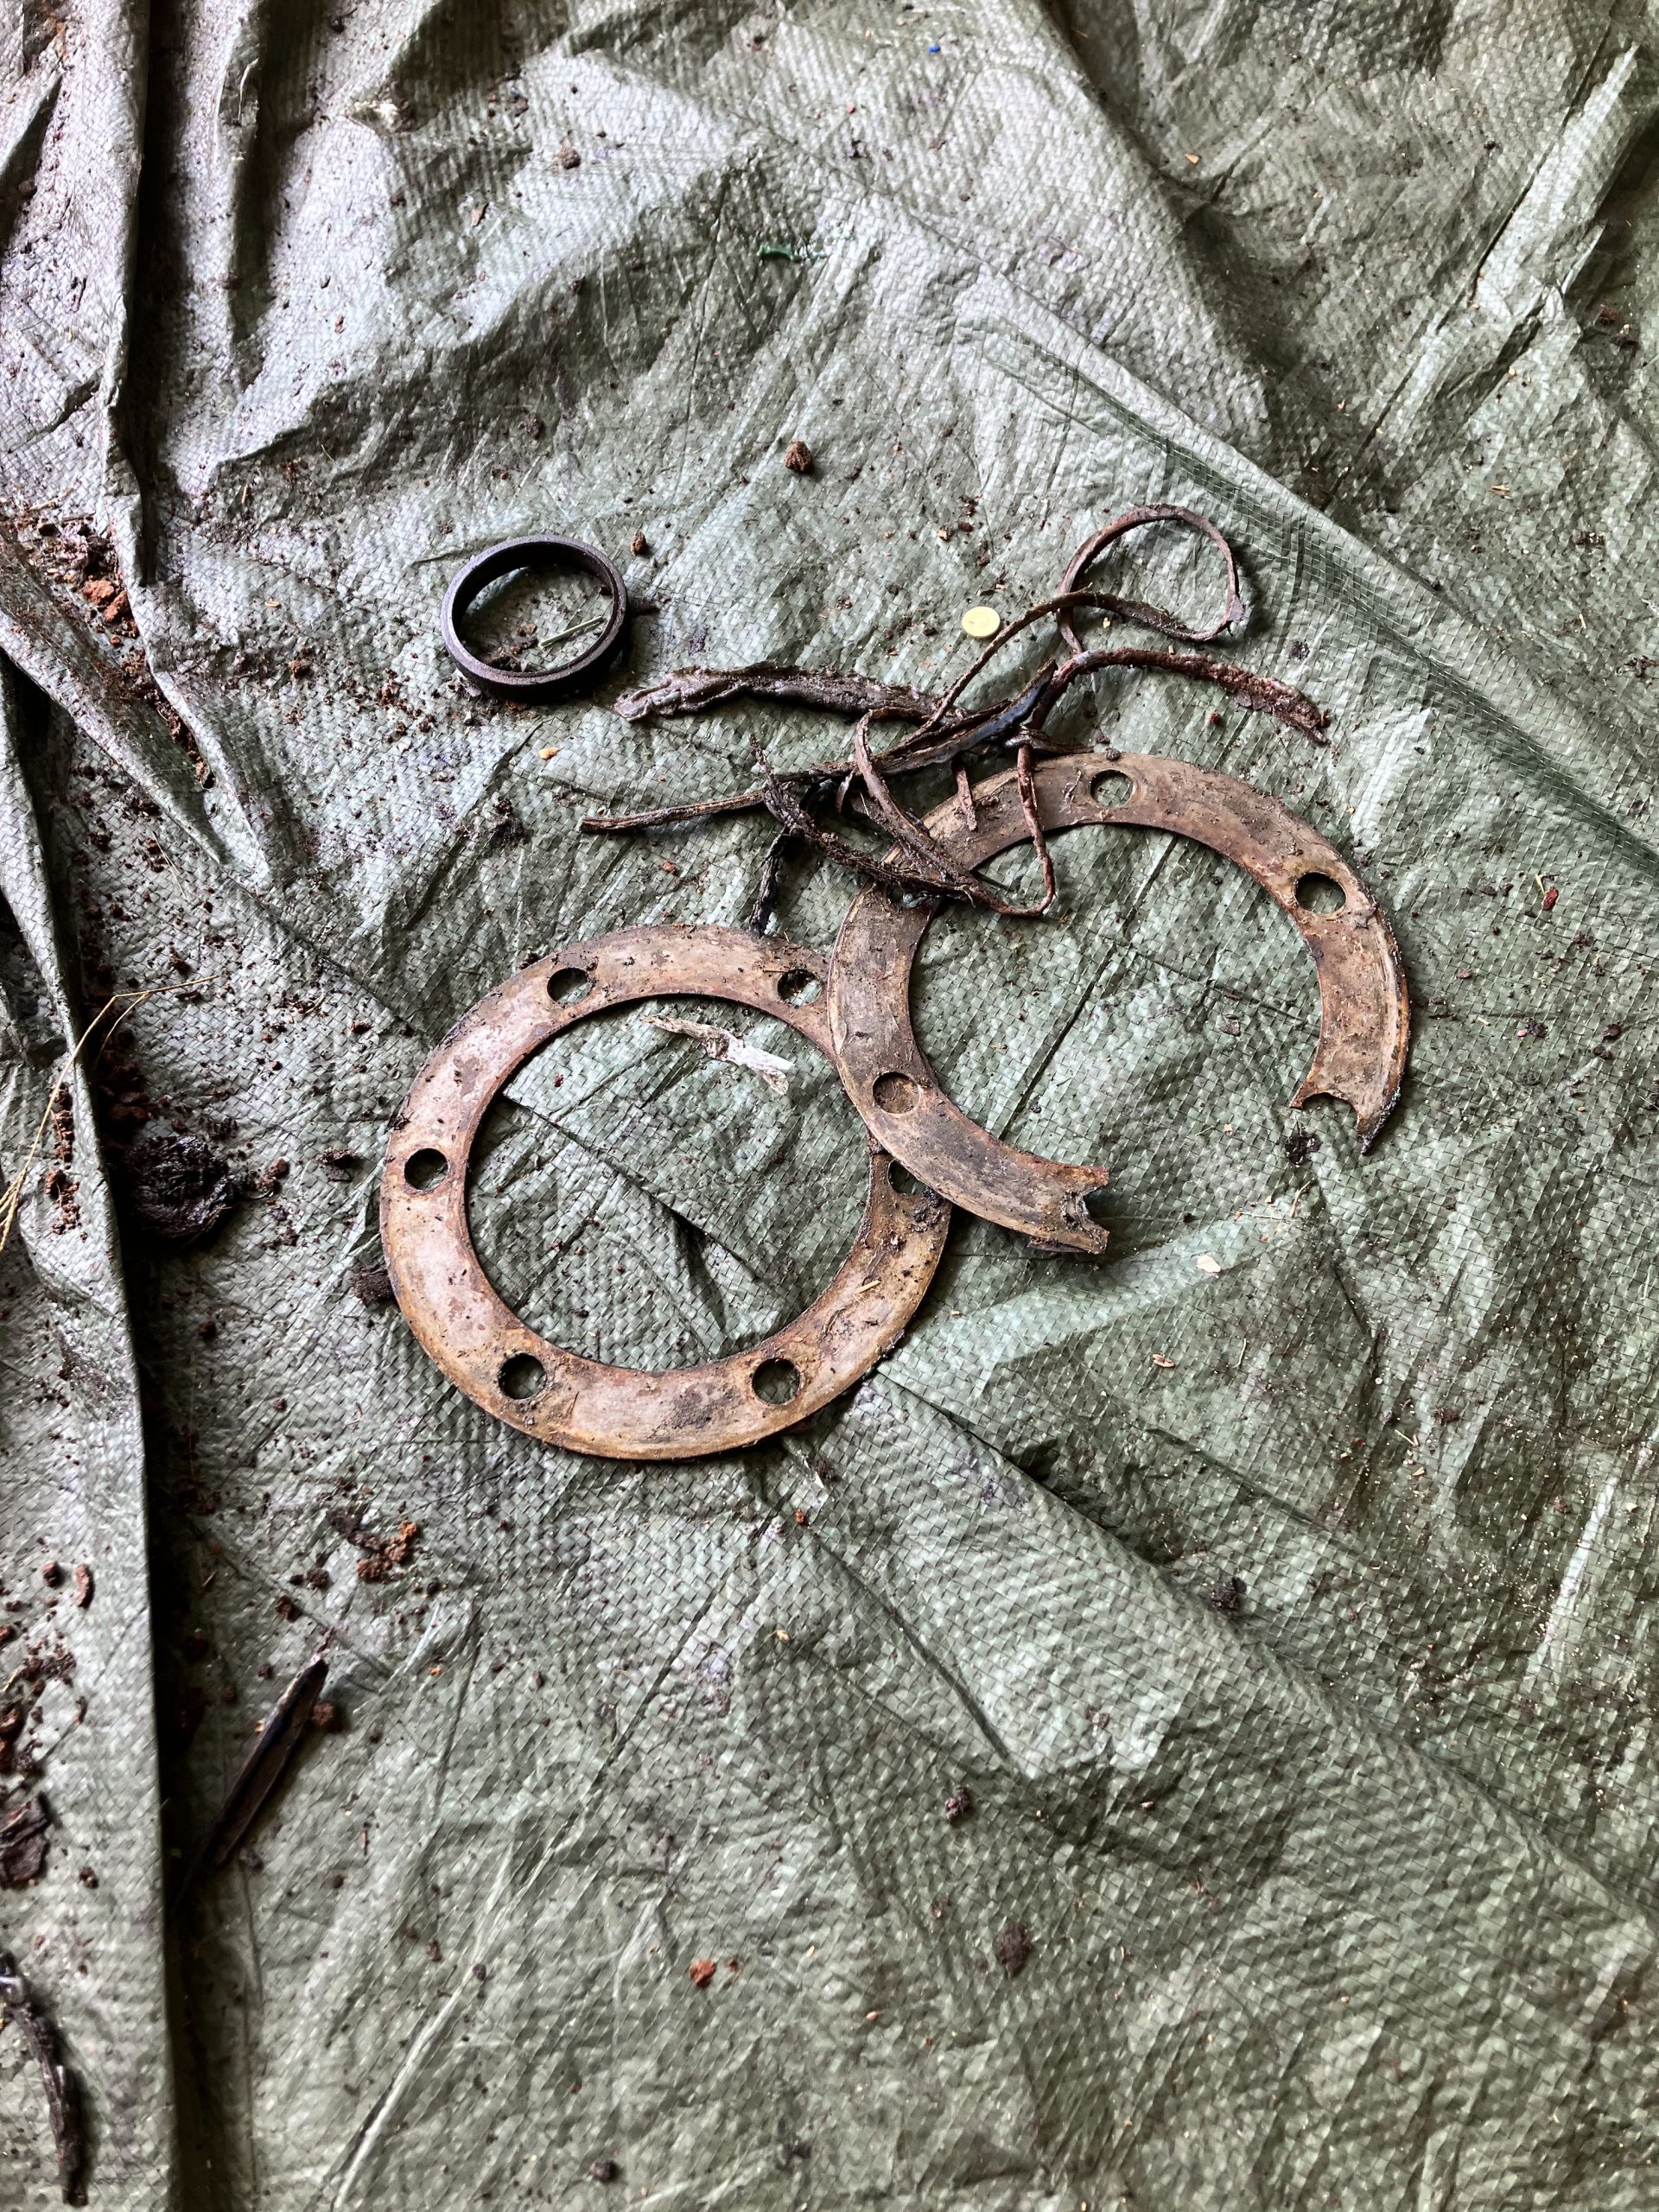
gunk, lots of it, and metal shims
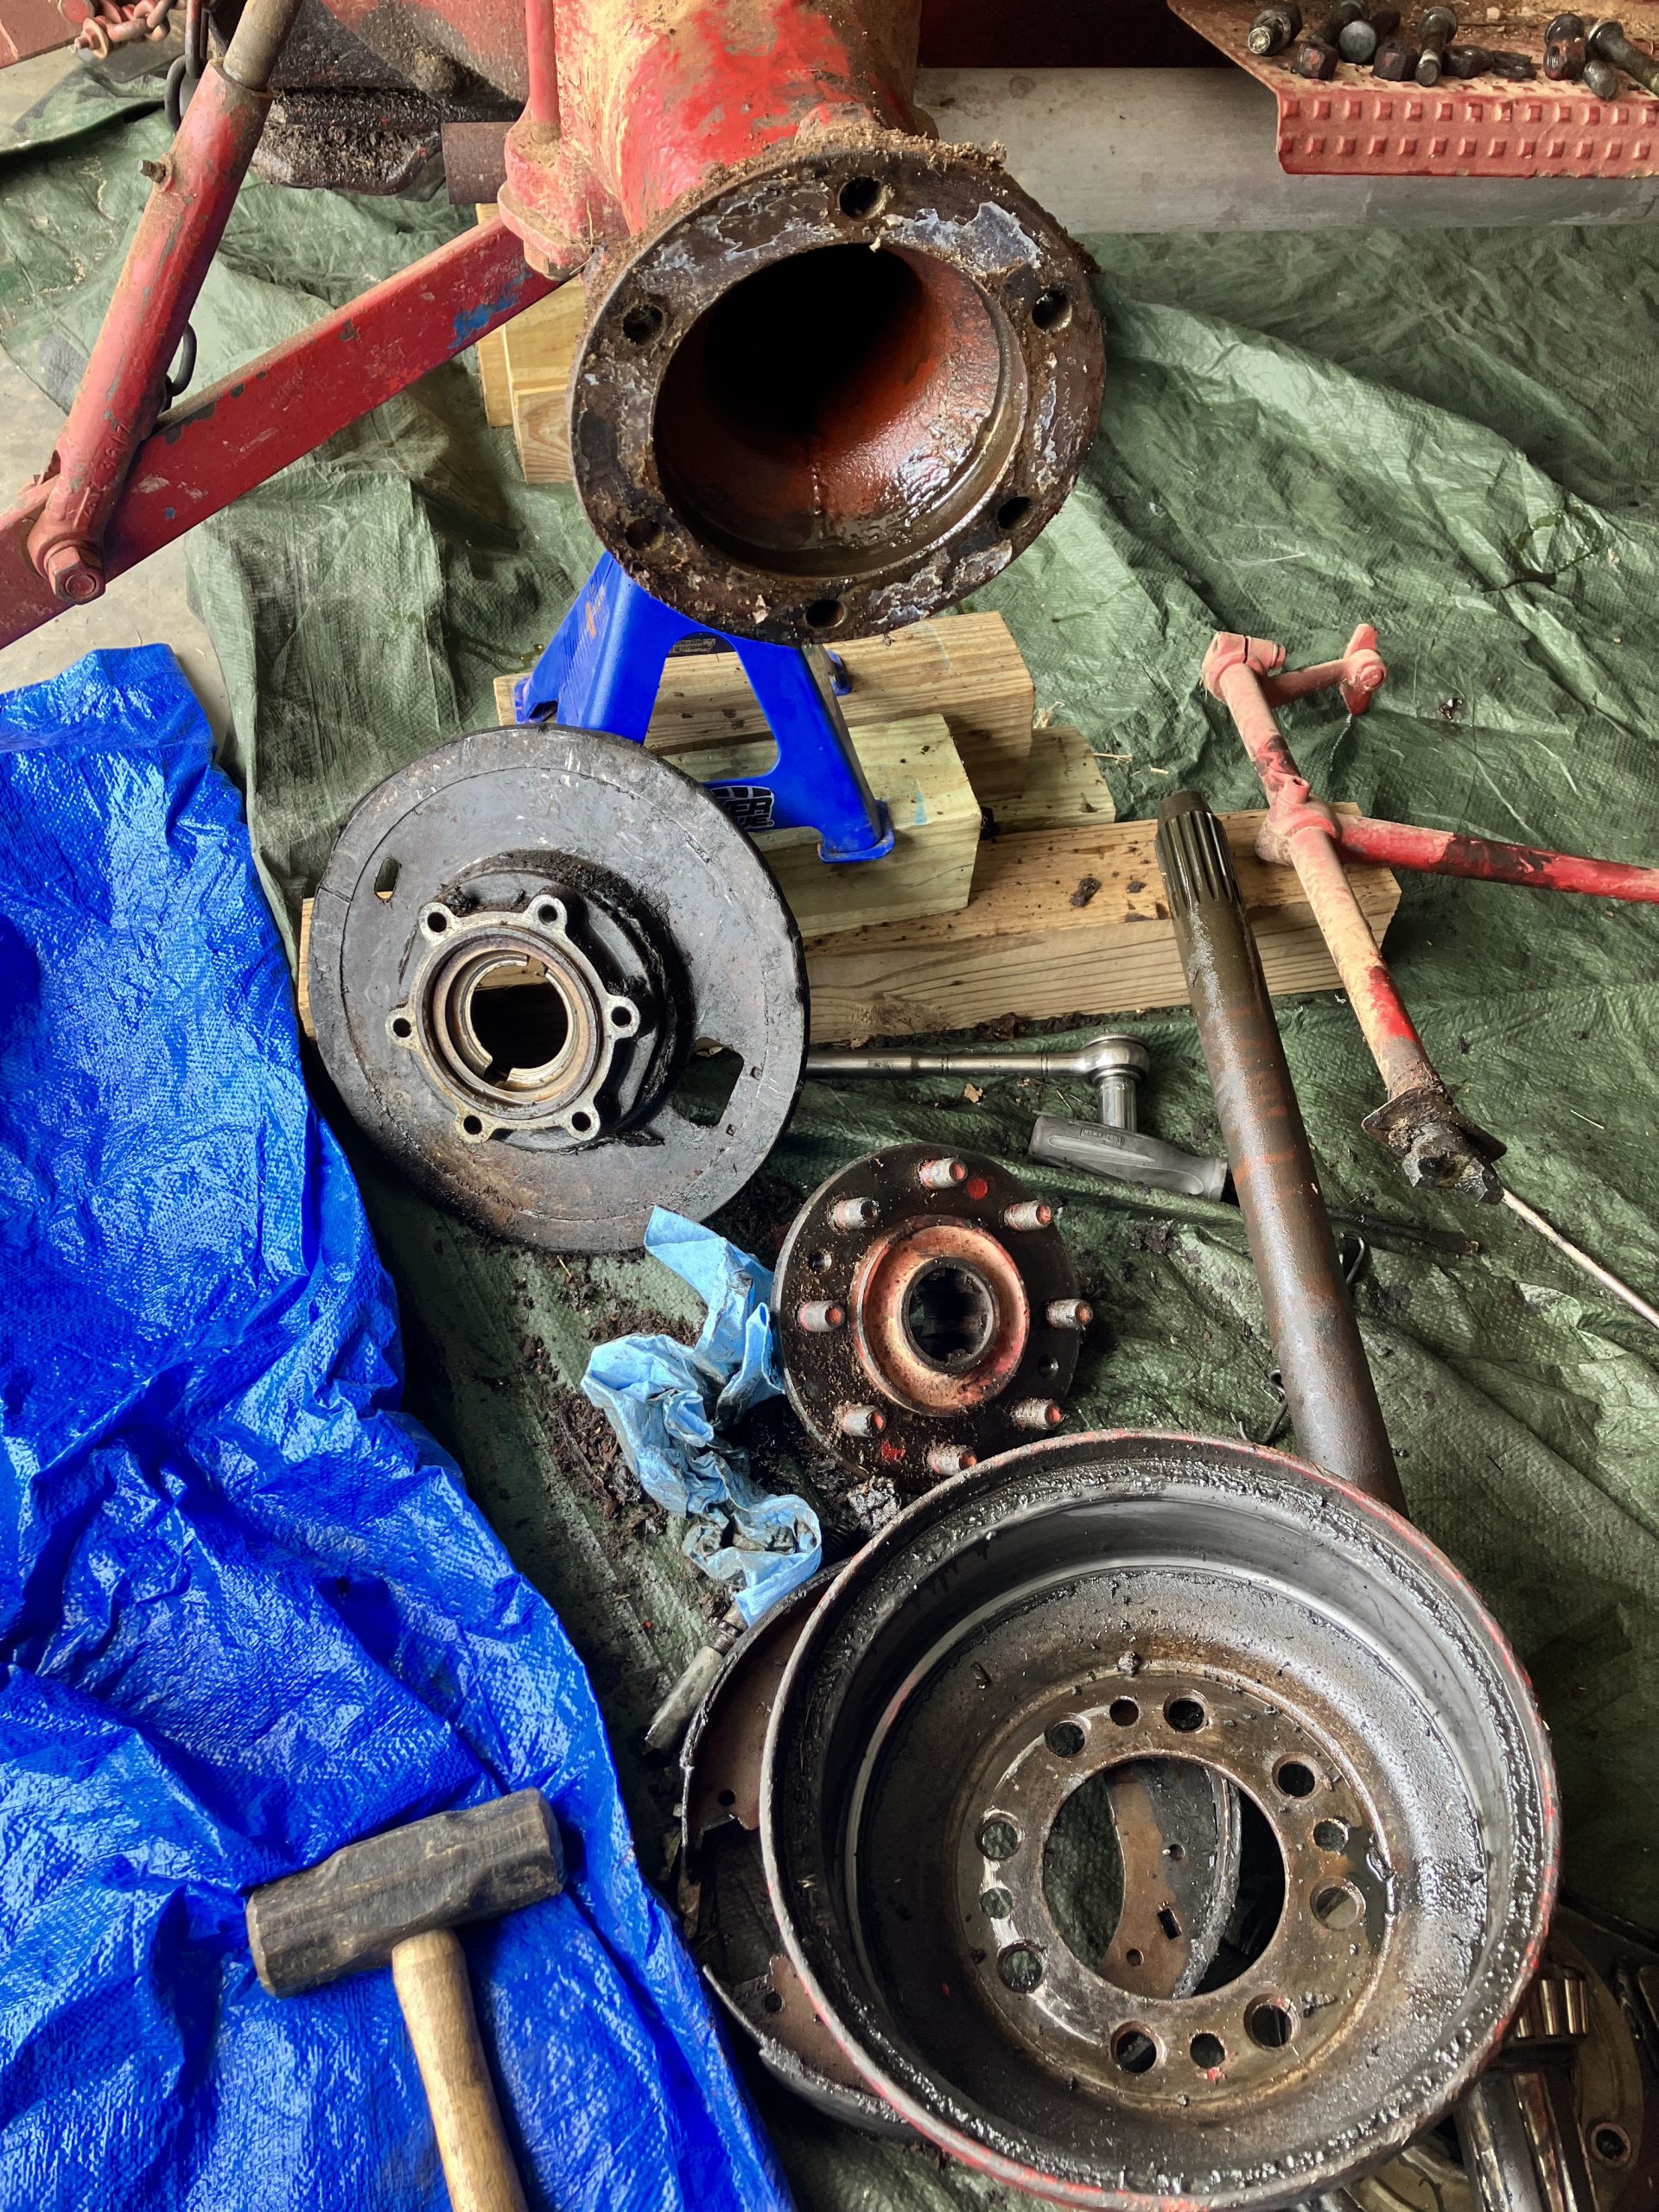
And here are all the parts I removed.
Since the shoes were soaked in grime, I bought some new ones locally. I searched the web sites of the local parts stores (O’Reilly, Napa, AutoZone, Advance Auto). The ones that had shoes for the 8N, all carried the same brand. I bought a box from O’Reilly for around $44 (that box had both sets – right and left).
However, the shoes were not a good fit. They are shaped identically, they have good pad, and they size up perfectly to the OEM shoes. But what they lack are the proper holes for the springs and the small hooks for the top and bottom that hold the larger of the two springs.
But more importantly, they did not have the slot where the brake arm goes that basically spreads the shoes apart when you press the brake pedal. When I read the Ford 8N shop manual, I wondered what they meant when they said the shoes have a top and a bottom to the pair, and that you have to get them set right. When I tried putting the new shoes on, it made perfect sense.
Last thing on the brake shoes: the store-bought ones did not have a big enough opening for the adjustment caliper.
So I returned them.
The bottom line here is this: make sure you get shoes that have exact markings that match the OEM shoes.
Next up I cleaned the parts. I used a wire brush, a lot of towels, some old jeans (as a rag), and about 1-1/2 cans of brake parts cleaner. It was tedious. It was also worth it.
With the parts cleaned up, I started reassembly.
Well, ok, I ended up “starting” reassembly 2-3 times, because I would forget something.
Primarily, I got the load adjusted and remembered I had an inner seal. Funny, I though. I didn’t remember seeing one when I took it apart.
It turns out that, although I thought I had a ’51 it was actually a ’49, which didn’t have the inner seal. At least, that’s what I found when I went and read the forums. Now, my serial number is not really legible, so I can’t go search by it. But if you can read yours, check online for the number when they started putting in the inner seal.
I did read that some fellows will wrap the axle in teflon tape about 6-7 inches from the outside of the axle, then pump an entire tube of caulk into the gap between the tape and the brake dust cover.
Do make sure to put the inner gasket in. Some are cork, mine is rubber. I put it over the axle and slid it in til it was flush at the back. And grease up that bearing. Why wouldn’t you?
With the axle in, I used blue RTV sealant on the trumpet flange and on the inside of the dust cover, then slipped the cover on. Then I mounted the brake backing plate… aaaaand remembered that the brake arm was sitting on the ground. So I wiggled and wrestled to get that thing in place.
Next I followed John Smith’s guidance on setting load. In short, I used 3 shims (paper, by the way, because that’s about all you can get), and set it so that, with the left wheel off the ground and the transmission in gear, rotating one axle forward rotates the other axles backward.
Then I used more blue RTV and a cork gasket and mounted the backing plate. This part was a bit tricky for me. This is where it came in handy to use the bolt on the top hole on the inside of the plate, then line up the others and insert the long bolts. Then I finger-tightened the nuts on the 5. I mounted the outer seal and tightened it in with the outside bolt on the top. Then I tightened all the nuts and bolts. I used my American Gearhead torque wrench, aka “that feels ’bout right.”
Right side, ready for the hub
Next up was the brake shoes. I’ve already been through my dilemma with the store-bought shoes, so I won’t re-hash that here.
If you’ve ever done drum brakes, you know that the springs are a pain. More so, apparently, with a tractor. At least for me.
After wrestling, sweating, and pondering for a while, I did what I always do – I looked at the forums. LOL
Turns out there is a magical tool I never knew existed – drum brake spring pliers. Let me just say that, after 30 minutes of frustration without them, it took 3 minutes with them, and part of that was figuring out the best way to use them. Worth the quick trip to the parts store and the less-than-$20.
When you do the shoes, there is an indention on the front-facing side. That goes to the inside of the wheel. The arm from the pedal goes up against that and manipulates the shoes.
Well, I put the hub in next, then tightened it down with the huge axle nut and reinstalled the snap ring.
After that it was just a matter of mounting the god-awful heavy wheel.
What I did here was use the floor jack to raise the axle, remove the jack stand, and lower and raise the floor jack (trial-and-error) until I got it at the right height to slide the wheel on. Then I bolted it on and I was good to go.
Brake adjustment was tedious, but not bad. On the right side, you want to push the dial toward the back or right to tighten the brake shoes. If you were looking from the top down, you would be turning the dial counter-clockwise.
The left side is opposite. Since you invert the adjustment caliper for the left side, you are still pushing the dial toward the back. If you were looking from the top down, you would be turning the dial clockwise.
I also ended up replacing both dust covers during the process.
After I had done both sides, I took it for a spin and noticed two improvements: the brakes work much, much better now, and the lift arms stay up longer with the power off.
Thanks for reading.
Brian
P.S. Below are pics from the left side.